Last updated October 31, 2026
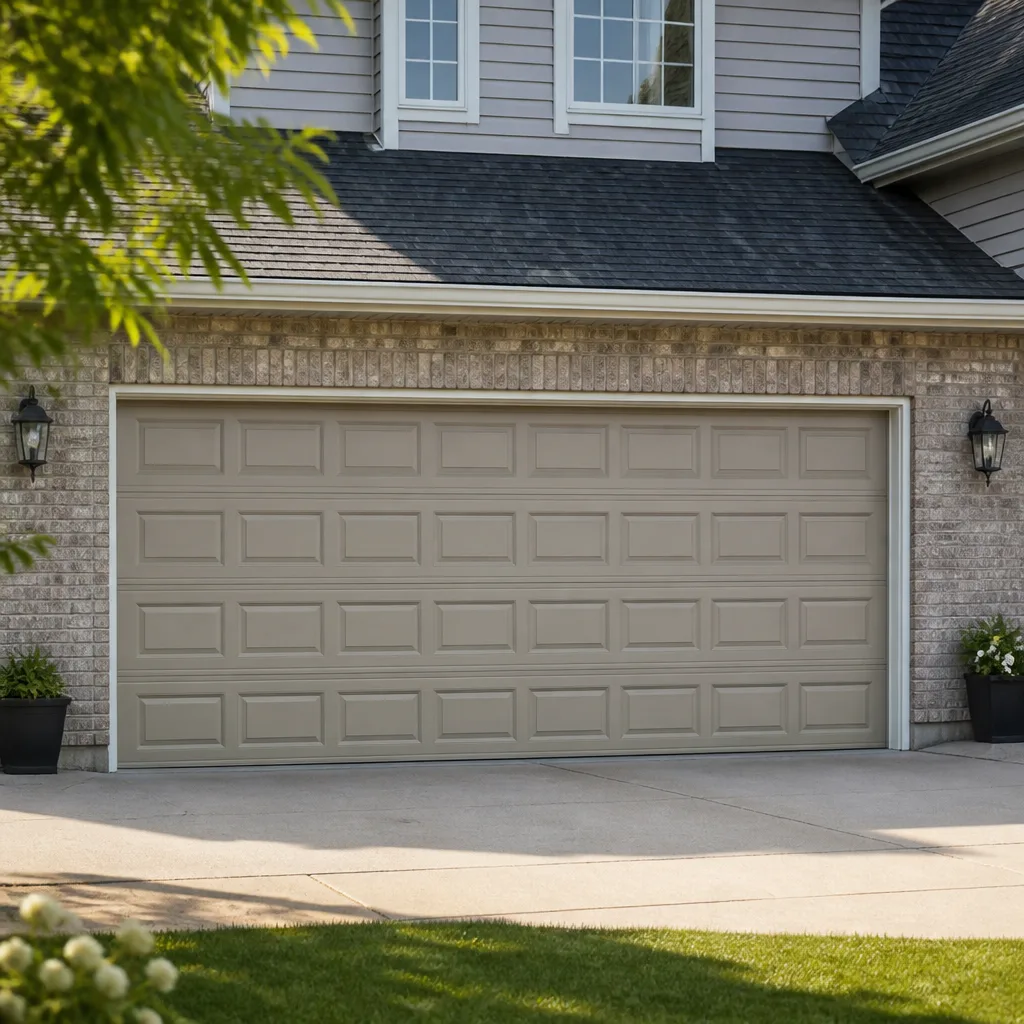 Raised-panel steel
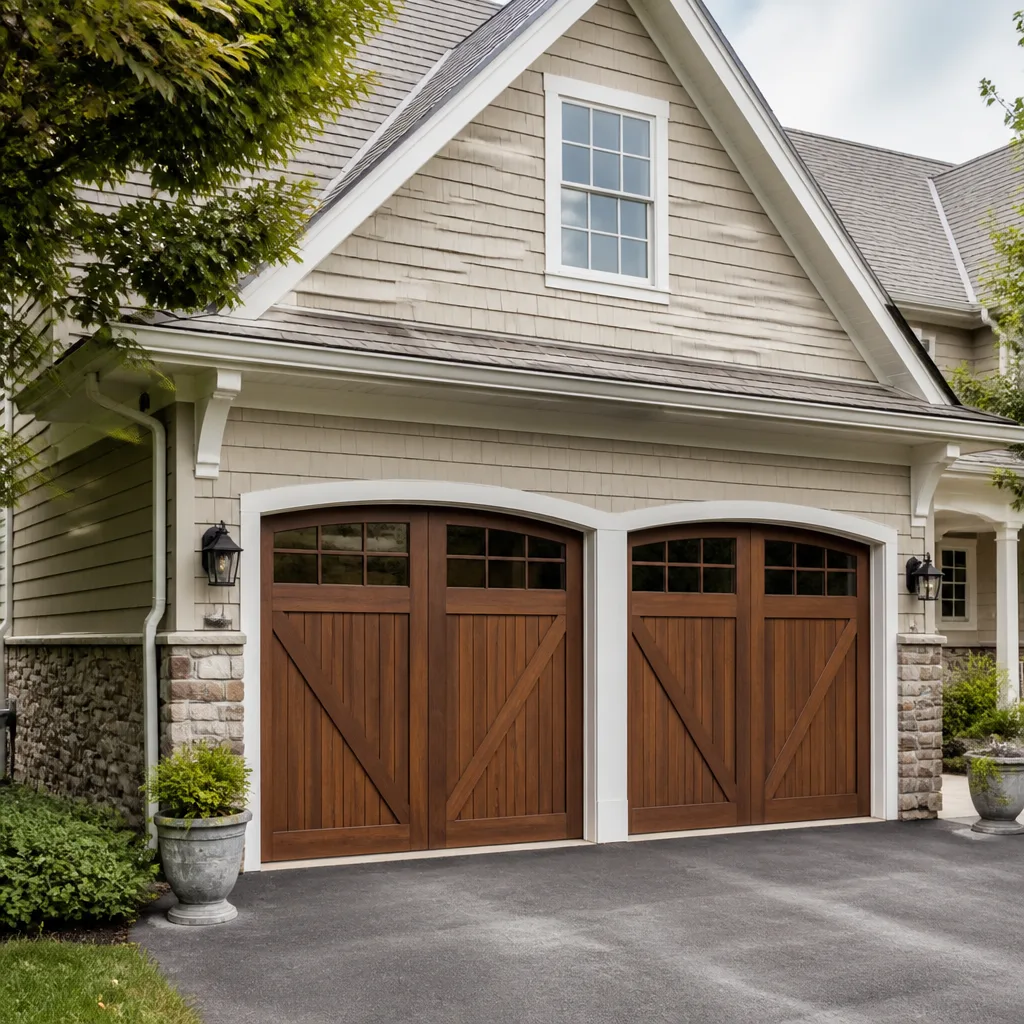 Carriage house
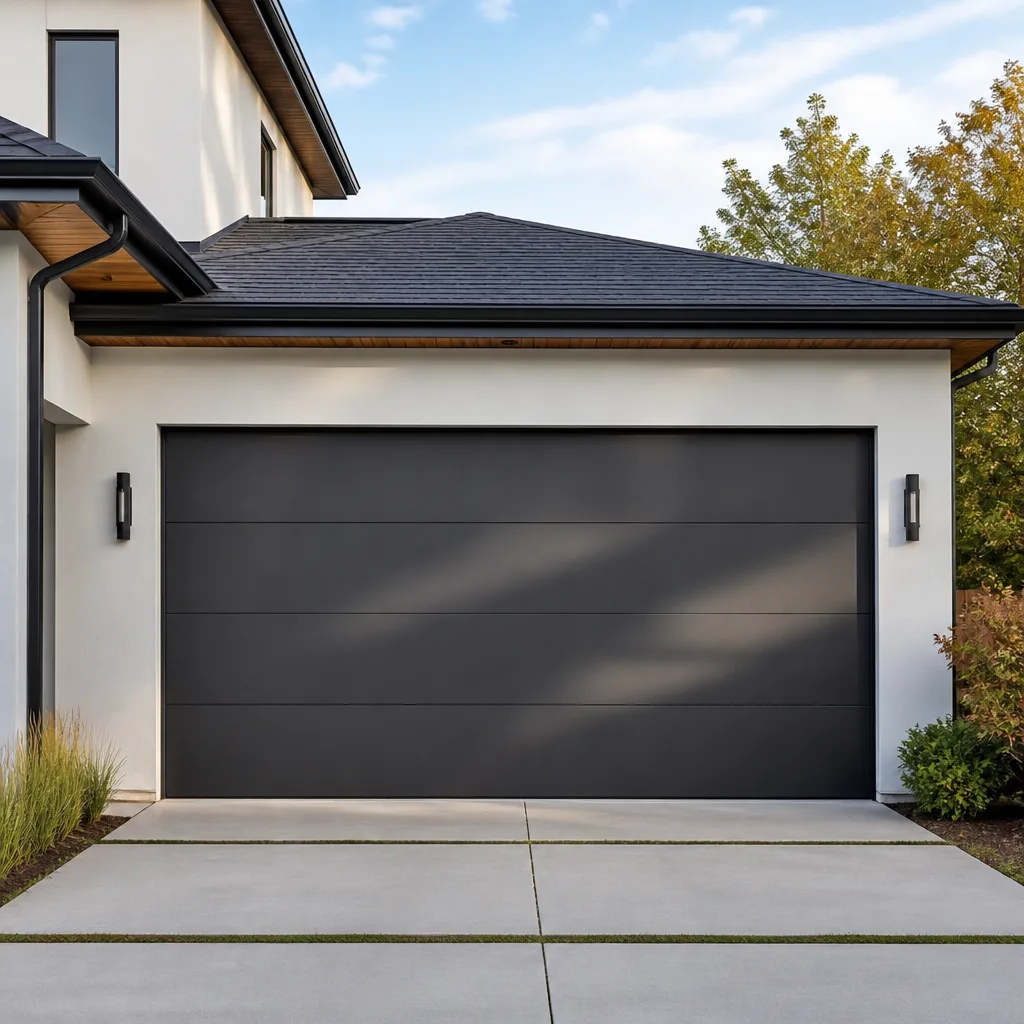 Modern flush
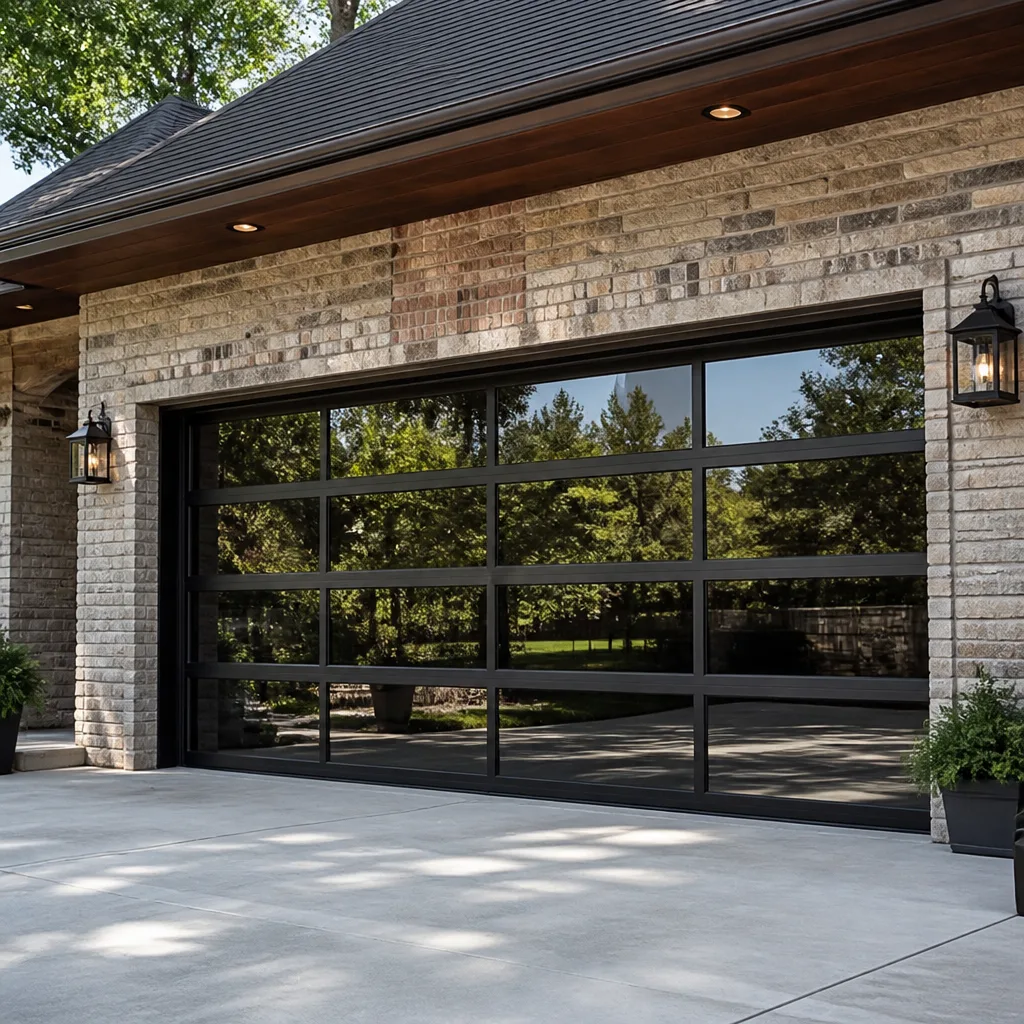 Full-view glass
 LiftMaster openers
 Chamberlain openers
Full 25-point door and opener safety check with every visit - springs, cables, rollers, tracks, and your LiftMaster or Chamberlain opener included
You get a price before we start. It does not change when the truck arrives.
Get your free estimateDIY vs Professional Garage Door: The Anaheim Homeowner’s Decision Guide
Torsion springs store enough energy to break a wrist or worse when released wrong. The YouTube comment sections on spring replacement tutorials are full of people describing exactly that, and most of them thought they were being careful. This guide isn’t here to lecture you about calling a pro for everything. It’s here to give you an honest, component-by-component breakdown of what’s safe to tackle yourself, what’s not, and where the real costs hide when a garage door job goes sideways in Anaheim.
Quick Answer
Most garage door maintenance tasks in Anaheim fall into two clear categories: safe DIY work like sensor cleaning, weatherstripping replacement, and remote programming versus dangerous professional work like torsion spring replacement, cable repair, and track realignment. The dividing line is tension. If the component stores mechanical energy under load, you need a trained technician with the right winding bars and torque calibration experience. Everything else is fair game for a careful homeowner with basic tools.
Styles & brands we work with
Table of Contents
- The Tension Rule: The Only Framework You Need
- Safe DIY Tasks: What You Can Confidently Handle
- Never DIY: Components That Can Seriously Injure You
- The YouTube Gap: What Tutorials Can’t Teach You
- The Real Cost Comparison: When DIY Actually Saves Money
- California Liability and Insurance: What Anaheim Homeowners Need to Know
- The Three-Question Decision Framework
- Anaheim-Specific Considerations
The Tension Rule: The Only Framework You Need
Garage door repair is not one skill. It’s about thirty different skills ranging from wiping a lens to calculating torque loads on a spring under hundreds of pounds of pressure. The single most useful mental model we’ve found for Anaheim homeowners is what we call the Tension Rule: if the part you want to fix is under mechanical tension, it’s a professional job. If it isn’t, you can probably handle it with patience and basic tools.
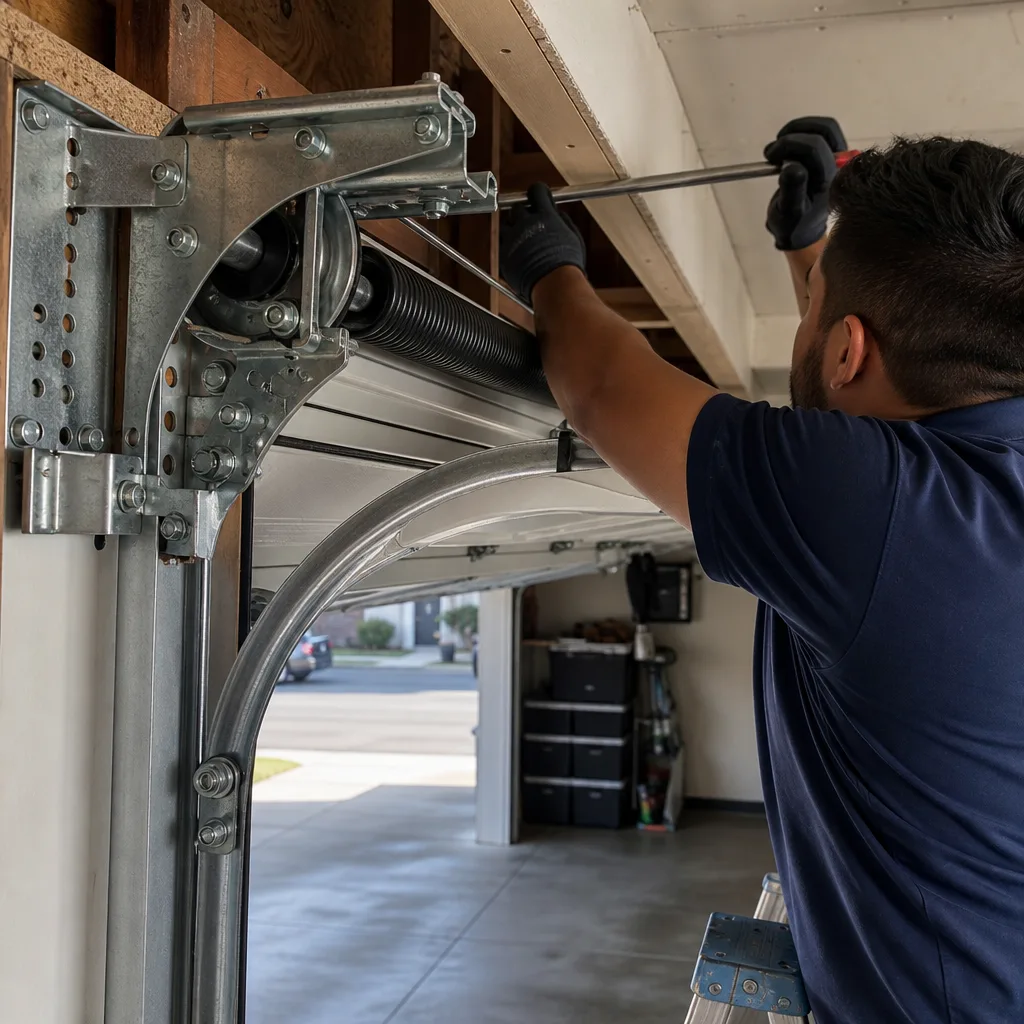
A garage door system has three main tension zones. The torsion springs above the door store enormous rotational energy, even when the door is fully open or closed. The cables that run along the sides are under constant load from the spring system. And the track itself carries the full weight of the door, typically 130 to 200 pounds for a standard two-car garage door in Anaheim. When any of these three systems fails, the energy release is not something you can out-reflex.
Parts outside the tension system include things like sensor lenses, weatherstripping, remote controls, hinges that are loose but not load-bearing, and cosmetic panel work. These components can fail and be replaced without ever touching the stored energy in the springs or cables. That’s where DIY makes sense. The problem arises when homeowners don’t know where the tension boundary is, because it’s not always obvious from looking at the door.
In Anaheim’s housing stock, which includes a significant number of homes built between the 1950s and 1990s, we regularly encounter doors that have been through multiple partial repairs. A previous owner may have replaced a spring with a different size than the original. The door weight may have changed when someone added insulation panels or a new opener. These variables shift the tension calculations, which means a spring that looks similar to a tutorial video might actually be under entirely different load conditions than the one in the video. That’s not a variable you want to discover mid-repair.
Safe DIY Tasks: What You Can Confidently Handle
Here’s the honest list. These are tasks where a careful Anaheim homeowner with basic tools can do the job correctly without touching the tension system. Each one takes under an hour, and none of them require specialized equipment beyond what you likely already have in a kitchen drawer or toolbox.
Photo Eye Sensor Cleaning and Alignment
The safety sensors at the bottom of your door tracks get dirty constantly in Anaheim, especially if you live near the 5 or 91 freeways where fine dust and exhaust residue accumulate faster than in coastal areas. When the sensors are misaligned or dirty, the door refuses to close, which is the single most common non-mechanical issue we see. The fix is usually as simple as wiping the lens with a dry cloth and checking that the small LED lights on both sensors are lit steadily. If one is blinking, gently adjust the sensor bracket until both lights are solid.
Weatherstripping Replacement
The rubber seal along the bottom of your door hardens and cracks over time, especially in Anaheim’s dry heat and summer temperatures that regularly exceed 90 degrees. Replacement weatherstripping costs between $10 and $25 at any hardware store, and installation typically means sliding the old strip out of the aluminum retainer and sliding the new one in. Some models require removing a few screws. It’s a 20-minute job that saves energy and keeps dust, leaves, and the occasional lizard out of the garage. Just make sure you purchase the correct width for your door, because Anaheim hardware stores stock multiple profiles and the wrong size will fall out within weeks.
Remote and Keypad Programming
Most opener remotes and wall keypads from LiftMaster, Chamberlain, Genie, and Craftsman use straightforward programming sequences that take under five minutes. The instructions are printed on the opener motor housing or available directly from the manufacturer. The catch is that older openers from the 1990s and early 2000s, which are common in Anaheim’s older neighborhoods like the Colony District and West Anaheim, sometimes use dip-switch programming instead of the modern learn-button system. If your opener has a row of tiny switches inside the remote compartment rather than a single colored button, you’ll need to match the switch positions exactly between remote and motor. It’s tedious but not dangerous.
Lubrication and Basic Maintenance
A can of white lithium grease or silicone spray costs around $8. Applying it to the rollers, hinges, and the opener chain or screw drive twice a year will extend the life of your door system noticeably. In Anaheim, where summer heat accelerates lubricant breakdown, we suggest doing this before the first 95-degree stretch in June and again after the Santa Ana winds in the fall, which blow fine grit into every moving part. Do not lubricate the spring itself. Spring coils don’t need it, and spraying lubricant into a torsion spring can actually cause it to slip or collect debris.
Minor Panel Dents
Small dents in steel panels, particularly on doors from Clopay or Wayne Dalton that use thinner gauge steel, can sometimes be worked out from the inside with a rubber mallet and a block of wood. This only applies to shallow dents that haven’t creased the metal or damaged the panel structure. Deep creases require panel replacement, because the structural integrity of the section is compromised, and the door may bind when it tries to travel around the curved track radius at the top of the opening.
Never DIY: Components That Can Seriously Injure You
This section isn’t negotiable. These are the components where the stored energy is high enough to cause catastrophic injury, and no amount of careful watching or video research changes the physics.
Torsion Spring Replacement
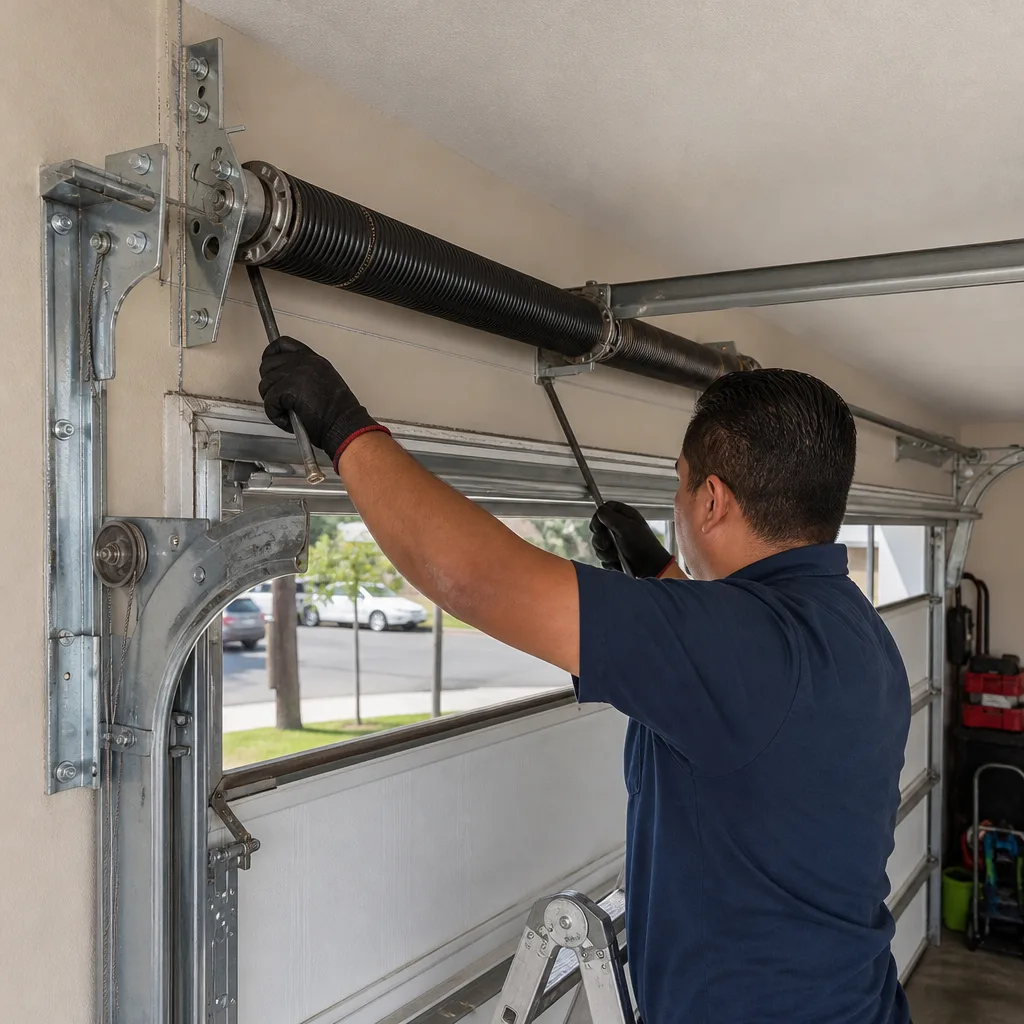
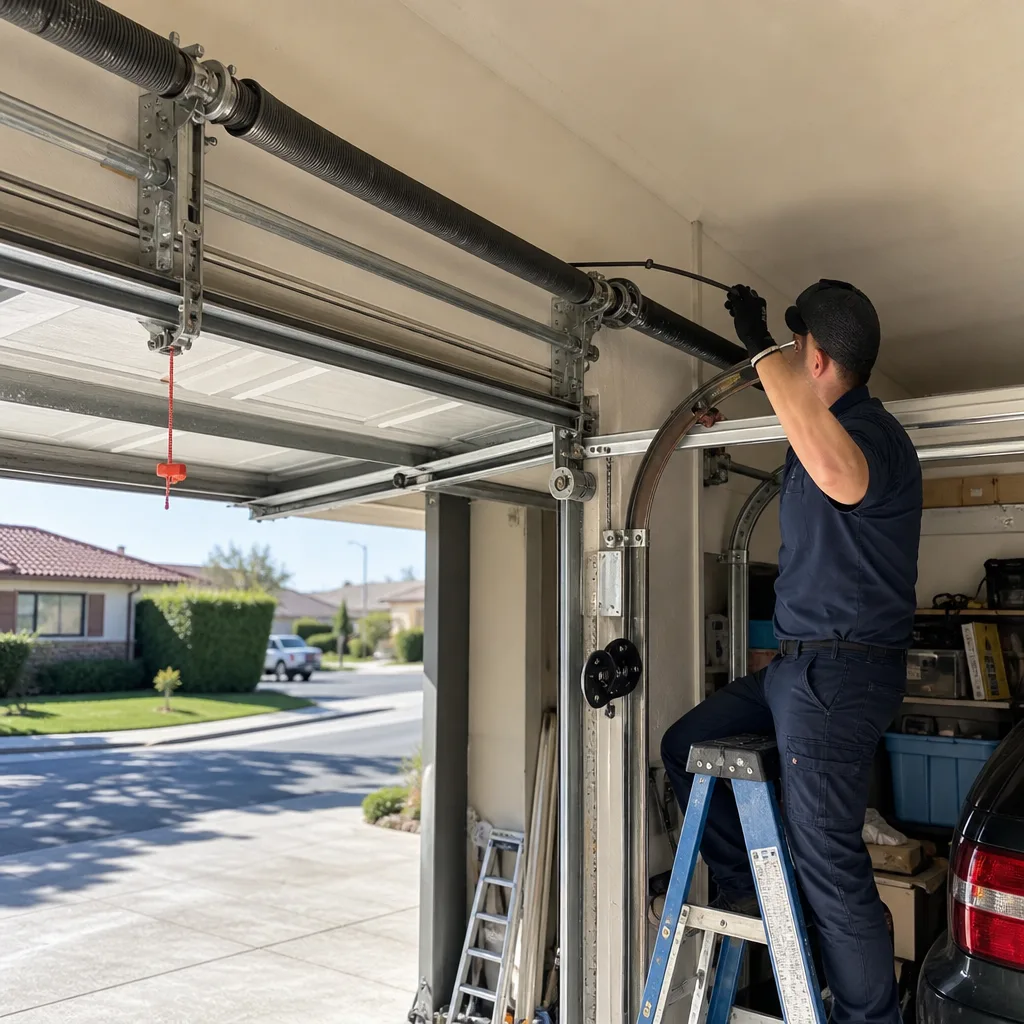
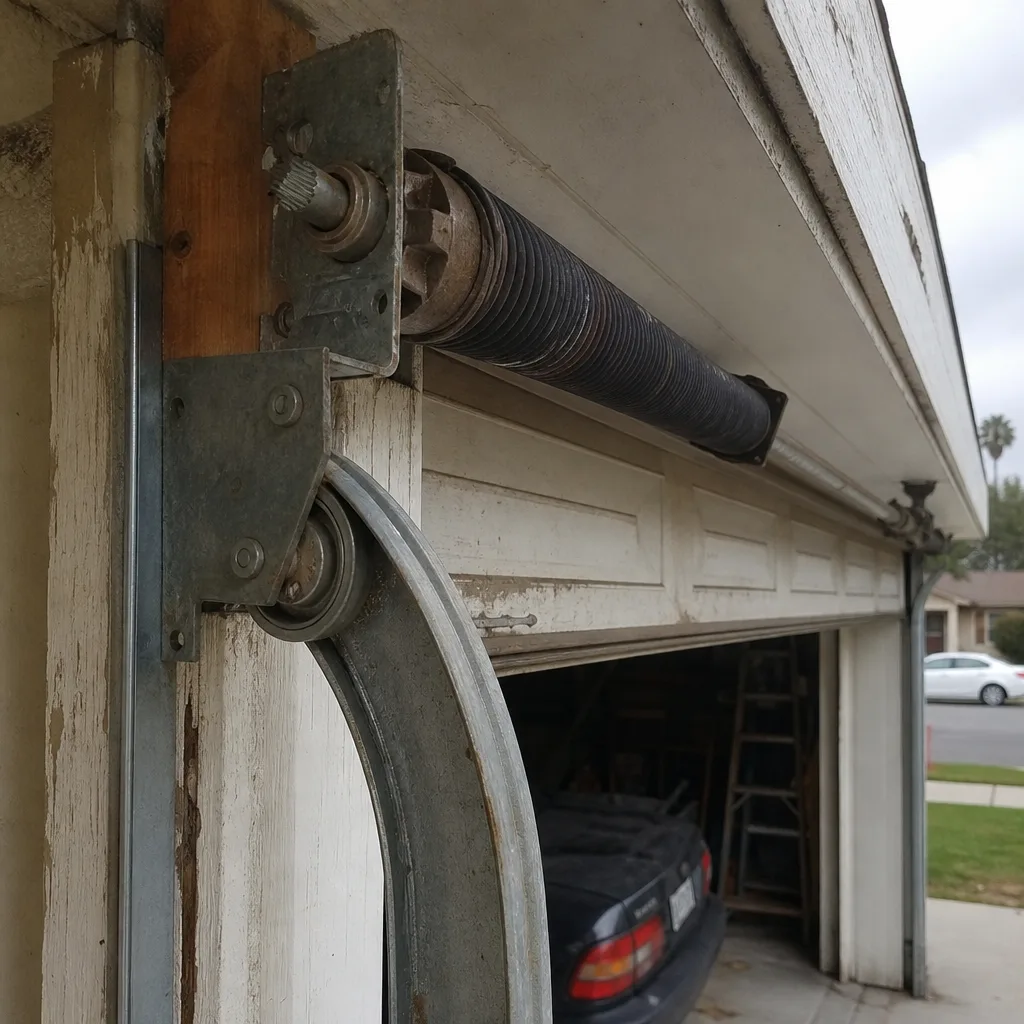
A torsion spring on a two-car garage door is typically wound with 7 to 8 full turns, storing enough rotational force to lift 150 or more pounds. When that spring breaks, which happens suddenly and sounds like a gunshot, the energy is already spent. But installing a new spring requires winding it to the same tension while it’s under load. The winding bars used for this procedure are about 18 inches long. If the bar slips out of the winding cone while the spring is half-wound, that bar becomes a projectile moving with enough force to break bones, destroy drywall, or worse. This is not a theoretical risk. We’ve seen the aftermath in Anaheim garages, and the damage to both property and people is real. Spring replacement requires at minimum two properly sized winding bars, the correct spring for your specific door weight and height, and calibrated torque experience. It is the single most dangerous residential repair task in a typical home.
Cable Replacement
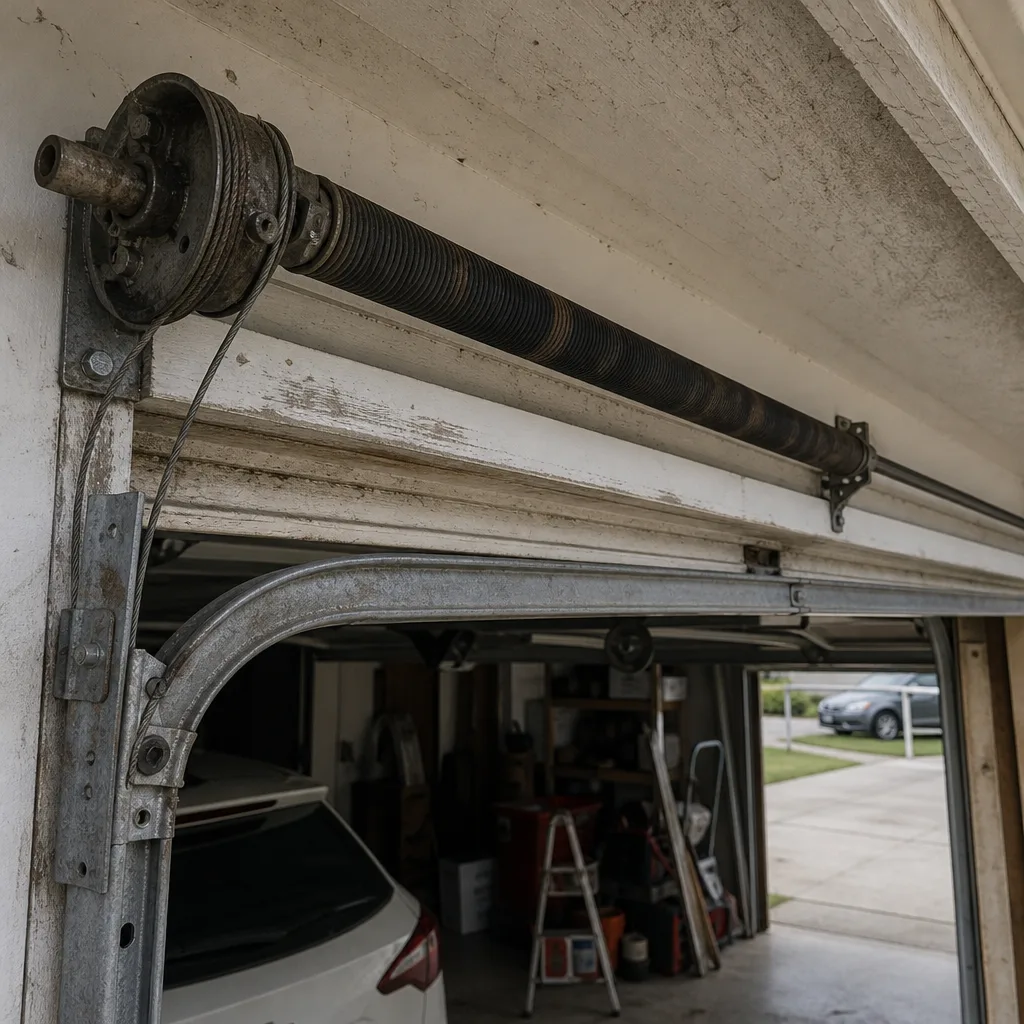
The lift cables on either side of the door run from the bottom bracket, up over the drums, and connect to the spring system. They are under constant tension. When a cable frays or snaps, it can whip with enough force to cut deeply or strike with the impact of a heavy industrial strap. Replacing a cable means routing it through the drum system while managing the spring tension that keeps everything in place. One wrong move while disconnecting the old cable can cause the spring to unwind instantly, which then releases the full weight of the door onto whatever is beneath it. In our experience working on Anaheim homes, cable failure often happens on doors that are 15 to 20 years old, and by the time a homeowner notices the fraying, the cable is usually days or hours from snapping.
Track Realignment or Replacement
The vertical and horizontal tracks that guide your door weigh 30 to 50 pounds per section and are bolted to the wall framing with lag screws. When a track is bent, often by a car bumping it or a roller coming loose, the door can bind and jam. Straightening or replacing a track means supporting the door’s full weight while detaching and reattaching the track sections. If the door comes off its tracks while you’re working underneath it, you’re dealing with 130 to 200 pounds falling from overhead. Track work also requires precise alignment within tolerances of about a quarter inch, because a misaligned track causes the rollers to grind, the door to squeal, and eventually the cables to jump off the drums, which brings the whole system down.
Spring-Connected Hinge or Roller Work on the Bottom Panel
Some hinges are safe to replace as DIY work, specifically the mid-panel hinges that don’t connect to the cable system. But the bottom roller brackets are attached to the lift cables. Removing those brackets without properly securing the door and de-tensioning the springs means the cable can snap free and the door can drop. This is a gray zone that catches people. A hinge on panel two or three is usually safe. A hinge or roller bracket on the bottom panel is not.
The YouTube Gap: What Tutorials Can’t Teach You
Watching someone perform a repair on video teaches you the sequence of steps. It does not teach you the tactile feedback, the feel of correct torque, or the hearing for when a component sounds wrong. This is the gap between watching and doing, and on garage doors, the gap is wider than on most home repair projects.
When we wind a torsion spring, we’re reading the resistance through the winding bars. We feel when the spring is seating correctly into the cones versus when it’s binding. We hear the difference between a spring that’s winding smoothly and one that’s grinding against the stationary cone, which happens when the spring isn’t the correct size for the tube. None of that comes through on a video, even a well-produced one.
There’s also the diagnostic layer. A video assumes the part the homeowner identified is the part that’s actually broken. In our experience serving Anaheim, the reported problem and the actual problem match about half the time on first inspection. A door that won’t open might be a broken spring, or it might be an opener gear stripped because the spring is weak and the motor has been carrying too much weight. A door that’s noisy might be worn rollers, or it might be a track that’s drifted out of alignment and is now grinding down the roller stems. If you replace the part from the video that matches your symptom, but the underlying cause is something else, the new part fails quickly, or the real problem worsens while you’re focused elsewhere.
This is where brand familiarity matters. A technician who has worked on hundreds of LiftMaster openers knows the failure pattern when a logic board starts acting up. Someone who installs and services Amarr and Wayne Dalton doors regularly knows which models have thin-grade panels and which don’t. At Ranger Garage Door Service, our technicians arrive familiar with the system before the truck pulls in, because we service eight major brands including Craftsman and Raynor, not just one product line. That diagnostic depth is the difference between fixing the symptom and fixing the cause.
The Real Cost Comparison: When DIY Actually Saves Money
The honest math on DIY versus professional garage door work is more complicated than comparing a $35 spring on Amazon to a $280 service call. Here’s the breakdown for Anaheim homeowners, using real market numbers from the area.
DIY Cost Reality:
- Tools: A pair of proper winding bars costs $25 to $40. A torque wrench $30 to $60. A socket set with the right sizes another $30. If this is a one-time repair, you’re buying tools you’ll never use again.
- Parts markup at retail: Big-box stores in Anaheim sell torsion springs at retail prices that are often 20 to 30 percent higher than what a service company pays wholesale. A spring that a pro acquires for $60 may cost you $85 over the counter, assuming you can even find the right size and wire gauge, which is frequently not on the shelf.
- Time: A first-time spring replacement for a careful DIYer typically takes 4 to 6 hours, including the trip to the store and the inevitable second trip when you realize you bought the wrong spring. Your time has value, even at minimum wage that’s $64 to $96 of labor you’re investing.
- Failure cost: If the replacement goes wrong, professional repair after a botched attempt usually costs more than original professional repair would have, because the technician also has to undo whatever was done incorrectly. Stripped winding cones, damaged center brackets, and bent tracks from a spring that unwound violently are common failure costs we see as follow-ups.
Professional Cost Reality in Anaheim:
- Spring replacement: $180 to $340 for a single torsion spring, installed, with the correct spring selected for your specific door weight, height, and track radius. Most companies, including Garage Door Repair in Anaheim providers, quote the price before work begins, and that price stays fixed unless you expand the scope.
- Opener repair: $120 to $280 depending on whether it’s a gear kit replacement, a logic board issue, or a sensor replacement. Opener diagnostics require multimeter work and an understanding of the control circuitry, which is beyond most casual toolkits.
- Full door replacement: $1,200 to $3,500 installed depending on door size, material, insulation rating, and brand. This is a scheduled job, not an emergency call, so you’ll receive a free measure and a written quote.
The crossover point where DIY clearly wins is on low-complexity, low-risk tasks. Replacing weatherstripping yourself saves a $80 to $120 service call. Cleaning and aligning sensors saves $90 to $150. Programming a remote yourself saves $75 to $100. These are real savings, and we’re the first to tell Anaheim homeowners to do these themselves if they’re comfortable. The crossover point where DIY loses badly is anything involving the tension system. One failed attempt at a spring replacement costs more in parts, tools, time, and follow-up professional repair than if you’d called first.
California Liability and Insurance: What Anaheim Homeowners Need to Know
California doesn’t require a permit for most residential garage door repairs, but that doesn’t mean the work is without legal consequences when something goes wrong. For details, see our guide on Garage Door Permits, Codes & Inspections in CA: What You Need to Know. Here’s what the liability landscape looks like if you choose to DIY a complex repair and it doesn’t work out.
If you perform a garage door repair yourself and the work causes property damage, your homeowner’s insurance policy generally covers accidental damage to your own property caused by the insured. But coverage can get complicated. If the insurance company determines the damage resulted from improper maintenance or unqualified repair work, they may deny the claim on the grounds that you assumed the risk by performing a job that required professional expertise. This is not a hypothetical concern. Insurance adjusters have seen enough garage door injury and damage claims to know what improper work looks like, and a bent torsion tube or a spring that’s been wound in the wrong direction tells the story clearly.
Injury is a separate question. If you injure yourself performing a DIY garage door repair, your health insurance covers the medical costs the same as any other accident, subject to your deductible and out-of-pocket maximums. But if you injure a family member, a tenant, or a guest in a rental property you own in Anaheim, the liability exposure shifts. California landlords have a duty to maintain rental properties in habitable condition, and a garage door is part of that duty. A tenant injured by a door that failed because of improper landlord-performed repairs has a path to a lawsuit that a poorly performed door repair makes much easier for their attorney.
There’s also the question of workmanship warranty. When a professional company performs a repair and something goes wrong, that company returns and makes it right under their warranty or guarantee. When you perform the repair yourself and something goes wrong, you are the warranty. There’s no callback number except your own, and the time to research the mistake and fix it is also yours. For Anaheim homeowners with rental properties, HOAs, or multi-family dwellings, the professional route carries significantly lower long-term liability.
The Three-Question Decision Framework
Here’s a decision framework that produces a clear go or no-go answer for almost any garage door task. Run these three questions on whatever’s broken, and the answer will line up with what a professional would tell you.
- Do I have the right tools, or would I be buying tools for a one-time job? If the answer is the latter, the DIY route needs to save more than the tool cost to make sense. A $40 pair of winding bars doesn’t justify itself for one spring replacement, especially since the spring is the wrong part to start with. For a task like weatherstripping that requires only a utility knife, the tool question answers itself.
- Is the component I want to fix under mechanical tension or connected to the tension system? Springs, cables, bottom brackets, and track sections that support the door weight all fail this test. Sensor lenses, remotes, weatherstripping, and mid-panel hinges don’t. This is the single most important screening question, and it’s the one that separates safe DIY from dangerous DIY.
- What’s the failure cost if I get this wrong? If the failure cost is a trip back to the hardware store and another 20 minutes, DIY makes sense. If the failure cost is a hospital visit, a broken garage door crushing your car, or a follow-up professional repair that costs more than the original would have, the rational answer is to call first. For projects like Garage Door Installation in Anaheim, the failure cost of an improper install is damage to the door, the opener, and potentially the vehicle parked underneath.
Three yes answers to the tool question, the tension question, and the failure cost question mean go ahead. A single no on question two or question three means stop and call a professional. It’s a simple gate, and it works.
Anaheim-Specific Considerations
Anaheim’s climate and housing stock create specific conditions that affect the DIY calculus. It’s not the same as working on a garage door in Phoenix or Seattle, and those differences matter for both the difficulty of the job and how long repairs actually last.
The first factor is heat. Anaheim regularly sees summer temperatures above 90 degrees, with stretches of 95-plus in July and August. Metal garage doors absorb that heat, and the inside of an uninsulated garage can reach 110 to 120 degrees. This affects springs differently depending on the quality of the steel. Lower-grade springs lose tensile strength faster in sustained heat, which is one reason spring failures tend to cluster in the summer months. It also means that any DIY work done during the hottest part of the day introduces heat exhaustion risk on top of mechanical risk, which degrades your judgment precisely when you need it sharpest.
The second factor is Santa Ana wind season, typically September through January. The Santa Anas blow dry air from the high desert through the passes and across the Anaheim basin, carrying fine dust and grit. That grit works its way into rollers, hinges, and opener chains. We frequently see doors in Anaheim neighborhoods like Platinum Triangle and Anaheim Hills with accelerated roller wear and chain stretch from windborne particulates. For DIY maintenance, this means more frequent cleaning and lubrication than manufacturers suggest for coastal climates. For heavier repairs, it means a door that’s been through several wind seasons may have more cumulative wear than its age would suggest, which makes accurate diagnosis harder for a non-professional. Our Garage Door Emergency Preparedness Guide for Anaheim Homes covers how to plan for these situations.
The third factor is housing age. Anaheim’s housing stock spans from mid-century ranch homes in the Colony District to new construction in the Platinum Triangle. Older homes often have single-car garages with non-standard door sizes, and replacing a spring or a panel on a non-standard door requires sourcing parts that big-box stores don’t stock. This is where the brand-agnostic approach helps. A company that works on Craftsman openers from the 1990s and Raynor doors from the 1980s has seen the non-standard configurations that Anaheim’s older homes present. A homeowner with a 1970s single-car door and a discontinued hardware configuration faces a much harder DIY path than someone with a standard builder-grade two-car door from 2015.
Common Mistakes to Avoid
- Attempting spring work with screwdrivers or pry bars instead of proper winding bars. Any tool that isn’t specifically designed to seat deep into the winding cone will slip, and a slipped bar under spring tension is the injury mechanism in nearly every garage door spring accident we’ve heard of in Anaheim. Winding bars cost $25 to $40. An emergency room visit costs more than that after insurance.
- Replacing only one spring on a two-spring door. When one torsion spring breaks, the other spring has the same age and the same wear. Replacing just the broken spring leaves you with mismatched tension, because the new spring is stronger than the old surviving spring. The door will be unbalanced, the opener will strain, and the old spring will fail soon anyway. Replace both springs at once, or be aware that your second service call is already scheduled by physics.
- Painting over hinges, rollers, or track surfaces. Paint gums up the moving parts and gets inside roller bearings, causing grinding and accelerated wear. If you’re painting your Anaheim garage door, mask the hardware or remove the door from the track first if you’re doing a full refinish.
- Ignoring the balance test after any DIY work. Pull the manual release handle and lift the door by hand. It should lift smoothly and stay in place at the halfway point without drifting up or falling down. If it doesn’t, the springs are not properly matched to the door weight, and the opener is carrying excess load. This test takes 30 seconds and catches most DIY mistakes before they become equipment failures.
- Buying parts by guesswork rather than by specification. Torsion springs are specified by wire gauge, inside diameter, length, and wind direction. Buying a spring that looks similar to your old one is a common Anaheim DIY error, and the result is a door that’s either dangerously over-sprung or too weak to lift properly. Hardware store associates can help with specs, but the margin for error on spring sizing is narrow.
- Working on an opener that’s still plugged in. This one seems obvious, but the number of DIY electric shocks from garage door opener repairs is not zero. Unplug the opener before opening the housing, and verify the power is actually off. Opener capacitors can store charge even after unplugging, so if you’re not comfortable working around electrical components, Garage Door Opener Repair in Anaheim is a phone call, not a project.
See the difference
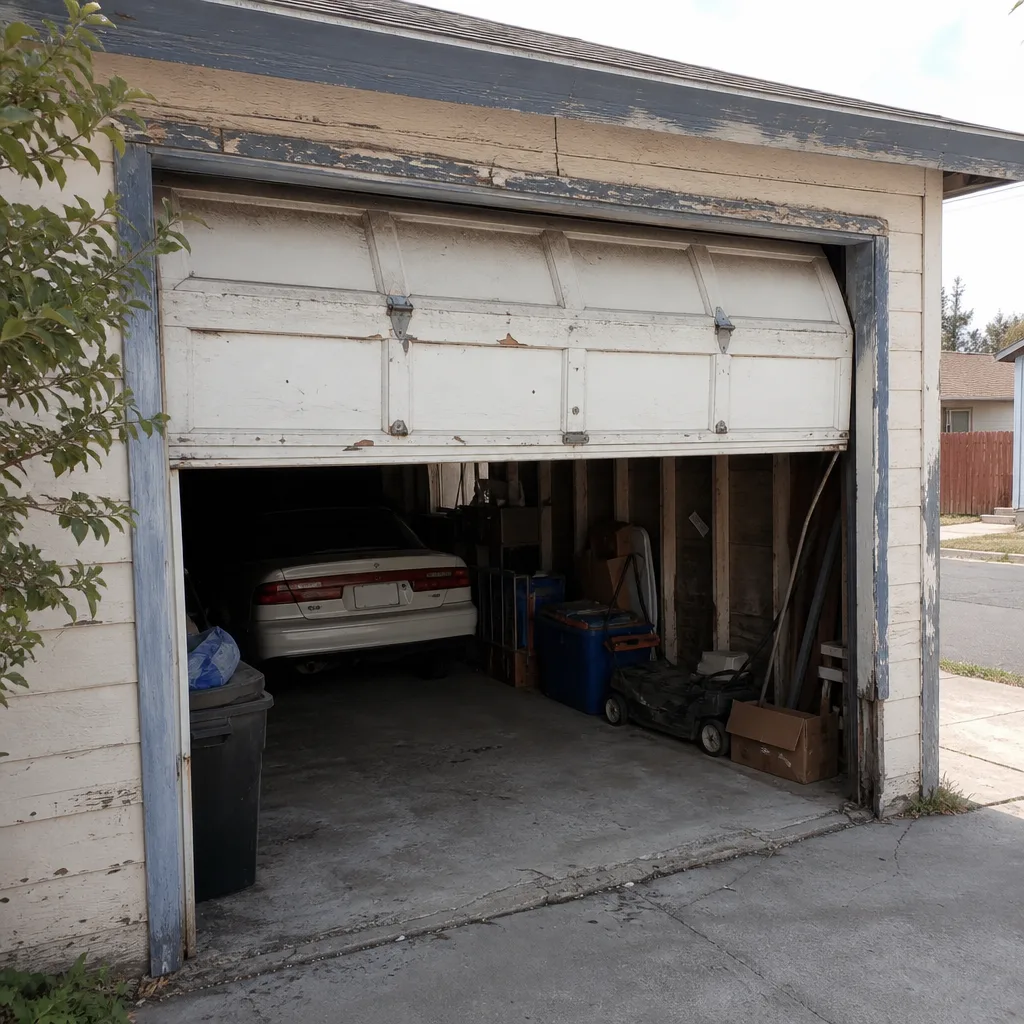 Before
 After
 Before
 After
 Before
 After
When to Call a Professional
Call a professional when the component is under tension, when the diagnostic picture is unclear, or when the failure cost of a mistake is higher than the price of the service call. Specifically: broken torsion springs, frayed or snapped cables, bent track sections, bottom-panel bracket work, any door that has come off its rails, and opener failures that involve the motor, gears, or logic board. Also call if you’ve already attempted a repair and it’s gone wrong, because partial work complicates the fix and makes it more urgent. Ranger Garage Door Service offers free estimates in Anaheim – call (877) 752-4135 and we’ll give you an honest assessment of what needs fixing and what it will cost before any work starts.
Frequently Asked Questions
A single torsion spring replacement in Anaheim typically costs between $180 and $340 installed, including the correct spring matched to your door’s weight and dimensions. The price is quoted before work begins and stays fixed unless the scope changes. Call (877) 752-4135 for an exact quote on your specific door.
No, torsion spring replacement is not a carefulness problem, it’s a stored-energy and correct-calibration problem. The risk of serious injury from a slipping winding bar is high enough that this is the one repair where we strongly recommend against DIY regardless of skill level. The cost of professional replacement is lower than the average emergency room deductible.
A standard torsion spring lasts 7 to 10 years, or roughly 10,000 open and close cycles, whichever comes first. In Anaheim’s summer heat, lower-grade springs may fail at the shorter end of that range, because sustained high temperatures accelerate metal fatigue in the spring coils.
The most common DIY opener mistake we see in Anaheim is replacing the opener when the real problem is a weak spring. If the door is heavy to lift by hand, the opener has been overworking, and a new opener on the same weak spring will fail within a few years. Test the door balance before replacing the opener.
Homeowner’s insurance generally covers accidental damage to your own property, but a claim may be denied if the insurer determines the damage resulted from improper or unqualified repair work. Insurance adjusters can identify the signs of incorrect spring installation, and a denied claim leaves you with the full repair cost.
Yes, lubricating hinges, rollers, and the opener chain or screw drive is a safe DIY task as long as you stay away from the spring and use a lubricant designed for garage doors. In Anaheim, we suggest lubricating twice a year, once before summer heat peaks and once after Santa Ana wind season.
The Bottom Line
The DIY-versus-pro question isn’t a philosophy. It’s a component-by-component risk and skill assessment. A homeowner who can confidently replace a sensor lens or a strip of weatherstripping has no business touching a torsion spring, regardless of how many YouTube videos they’ve watched. The Tension Rule and the three-question framework produce the same answer a professional would give you: handle the no-tension tasks yourself if you enjoy the work, and call for the tension system. The savings from a successful DIY spring replacement don’t outweigh the cost of a failed attempt. For the jobs that need a pro, the quote is free and the price is set before work starts. That’s how it should work. Explore more guides & resources to keep your door running safely.
Written by the team at Ranger Garage Door Service, serving Anaheim since 2018.