Last updated October 31, 2026
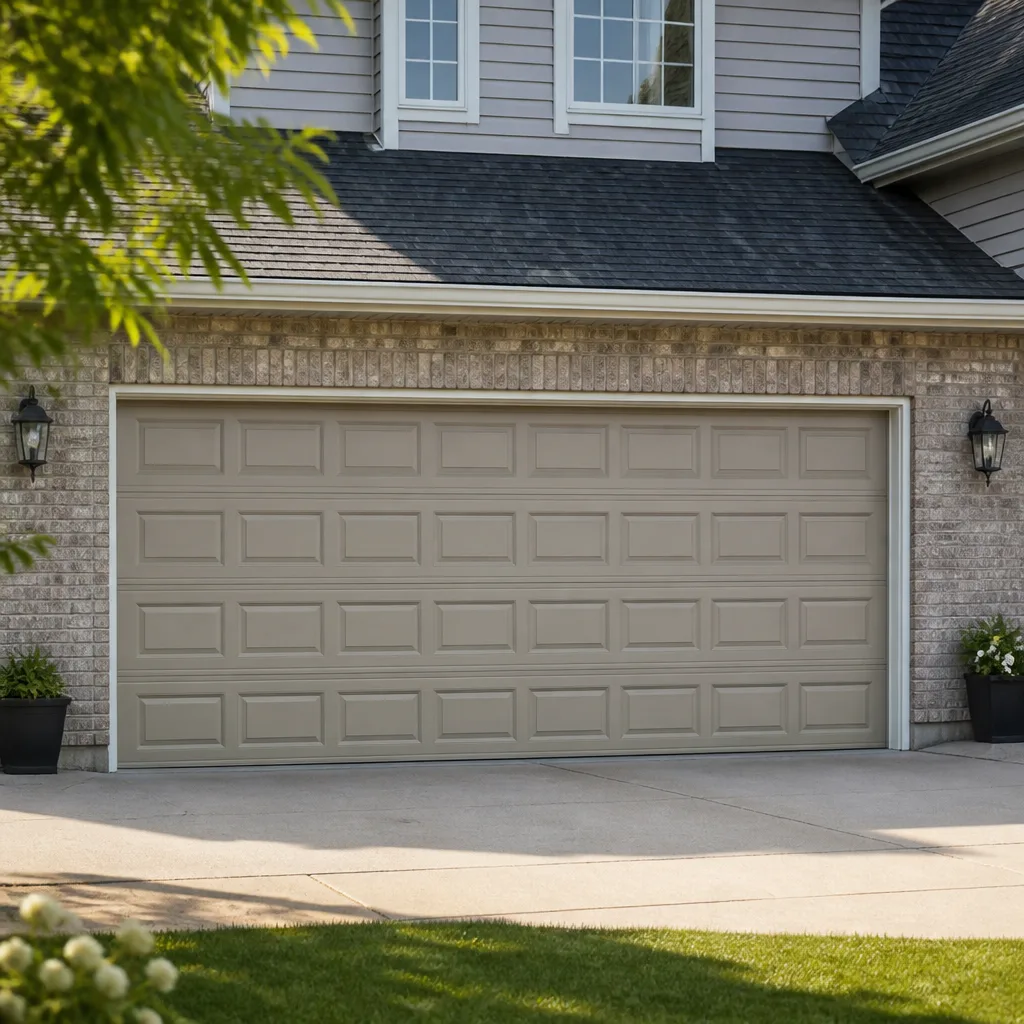 Raised-panel steel
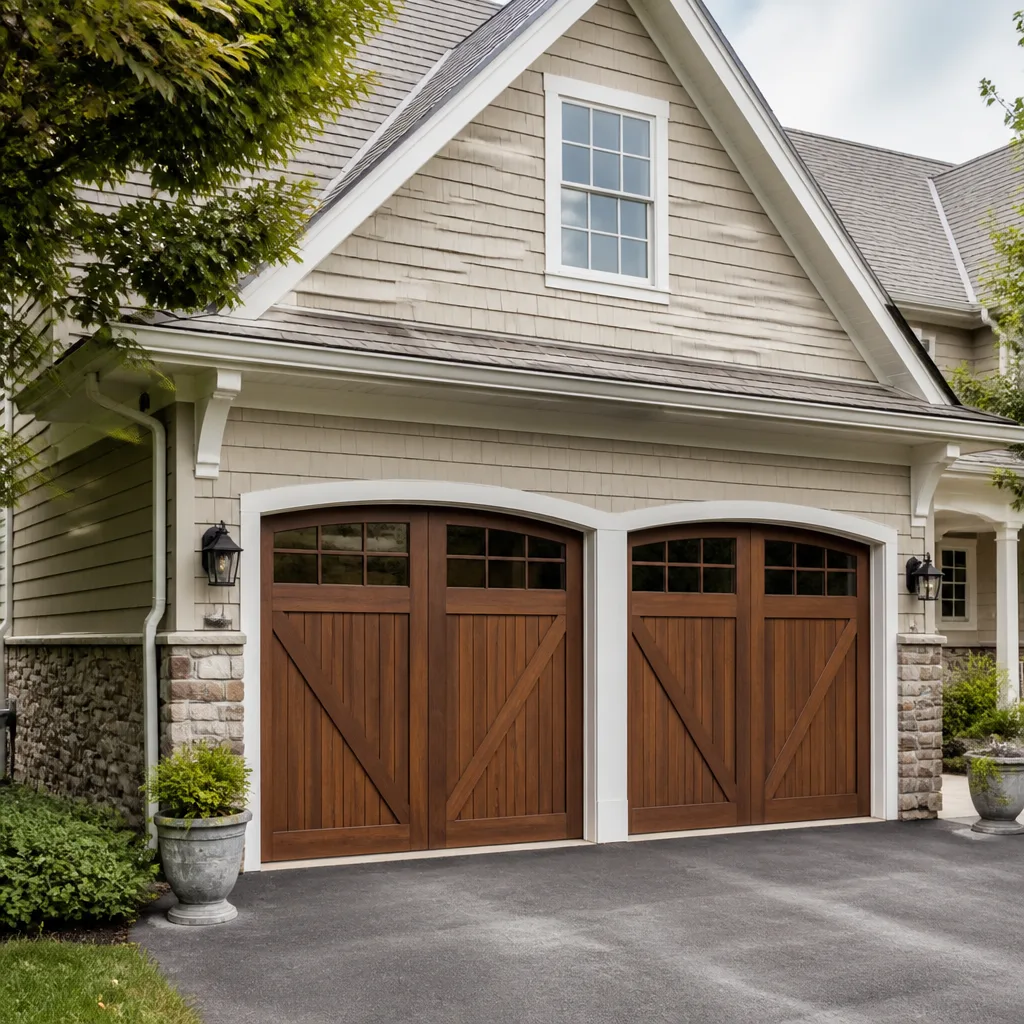 Carriage house
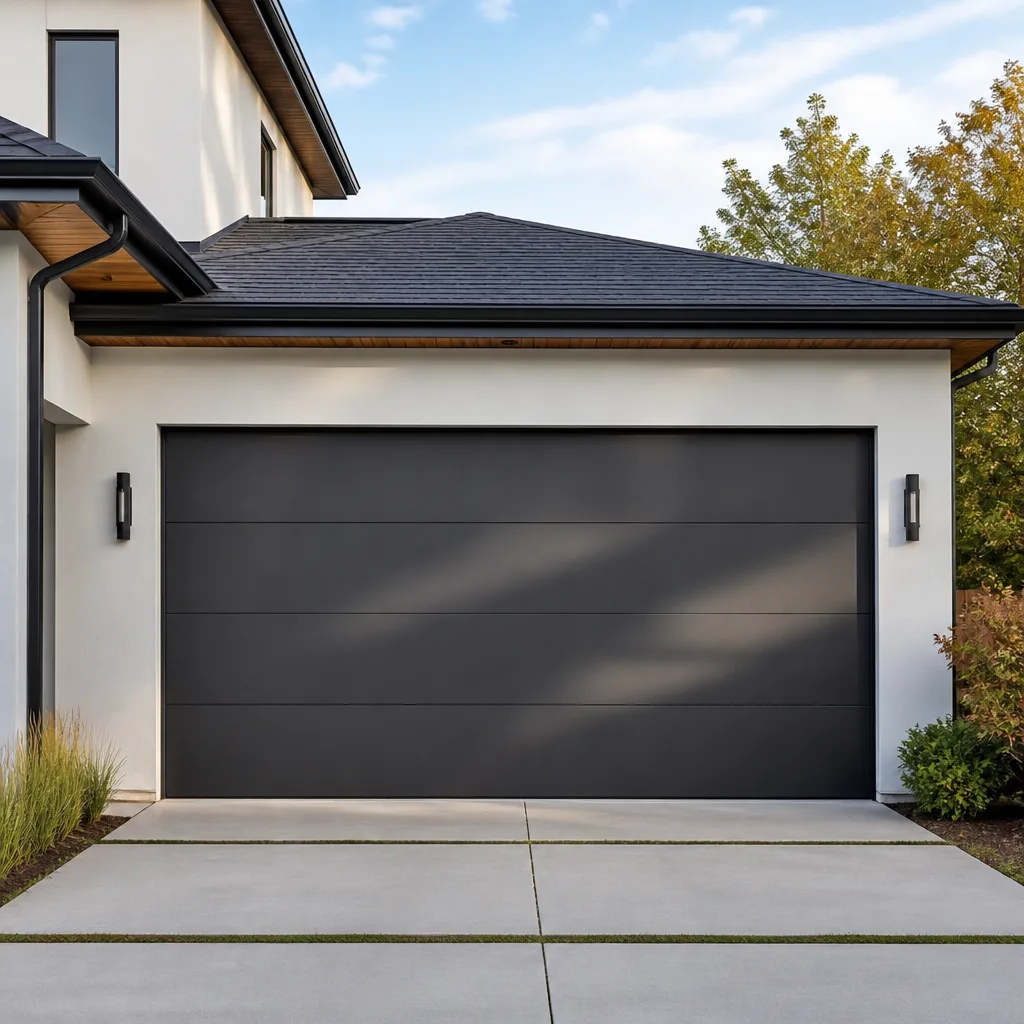 Modern flush
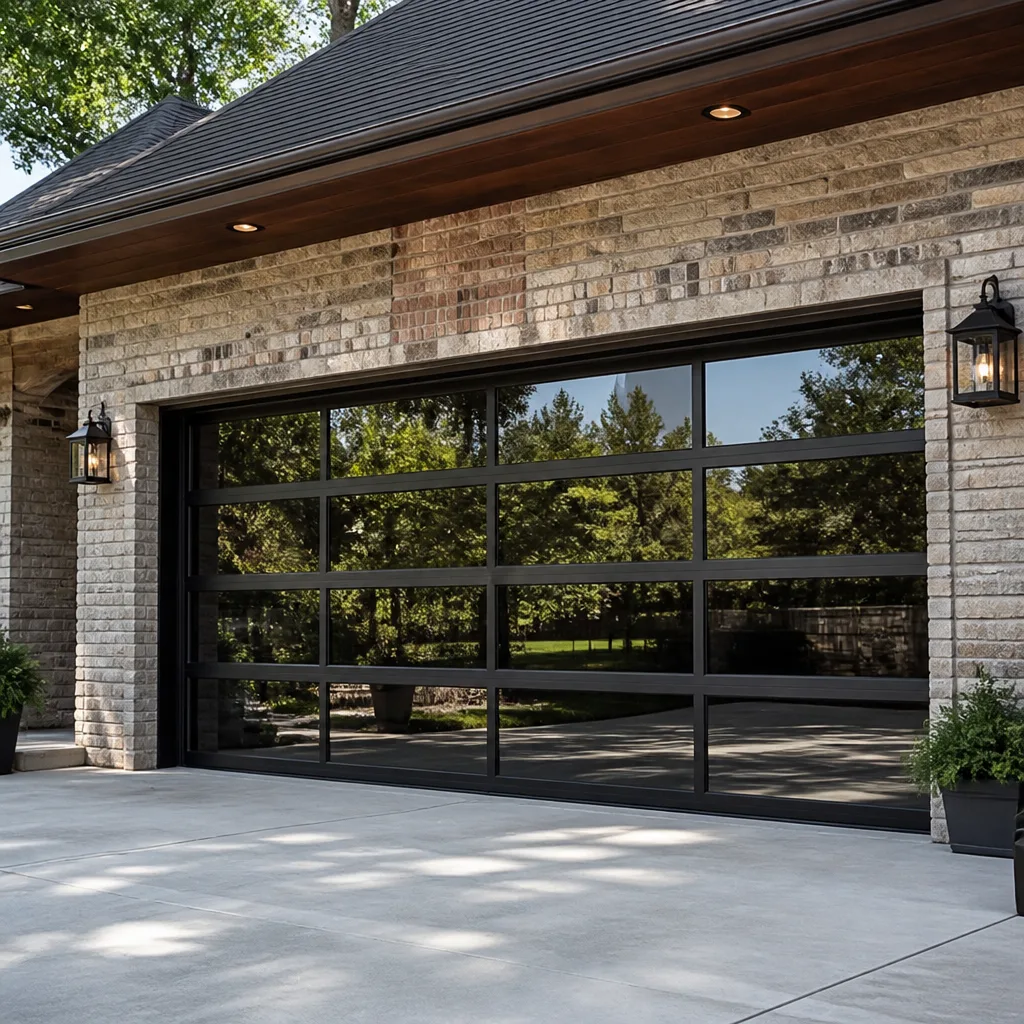 Full-view glass
 LiftMaster openers
 Chamberlain openers
Full 25-point door and opener safety check with every visit - springs, cables, rollers, tracks, and your LiftMaster or Chamberlain opener included
You get a price before we start. It does not change when the truck arrives.
Get your free estimateGarage Door Repair Maintenance Checklist for Anaheim Homeowners
Most printable garage door checklists were written for the Midwest. They warn about freezing lubricant and ice buildup, neither of which will ever matter to an Anaheim homeowner whose real enemies are UV-cracked weatherstripping and grit-clogged rollers. A door that operates 1,500 times a year in dry, sunny, occasionally wind-blasted conditions fails differently than one in Ohio, and the maintenance schedule should reflect that. This guide is built around the specific stressors your door faces in Orange County, not a generic national template. You’ll learn what to check monthly, what actually matters quarterly, which annual tasks prevent the most common Anaheim Garage Door Repair services calls, and where homeowners accidentally make things worse.
Styles & brands we work with
Quick Answer
A garage door maintenance checklist for Anaheim should focus on UV damage to rubber seals, dust and grit accumulation from Santa Ana winds, roller wear, and opener force settings. The highest-impact tasks are a monthly visual inspection of weatherstripping and rollers, a quarterly lubrication of hinges and rollers only, and an annual balance test plus professional tune-up. Skipping these lets small problems compound into spring failures, track damage, and opener motor burnouts that cost far more than the maintenance would have.
Table of Contents
- Why Anaheim Conditions Require a Different Checklist
- Monthly Maintenance Tasks (15 Minutes)
- Quarterly Maintenance Tasks (30 Minutes)
- Annual Maintenance Tasks (60-90 Minutes)
- The Balance Test: What a Failing Door Actually Feels Like
- Lubrication Guide: What Goes Where, and What Never To Use
- What Skipping Maintenance Actually Costs: One Year vs. Five Years
- Common Mistakes to Avoid
- When to Call a Professional
- Frequently Asked Questions
- The Bottom Line
Why Anaheim Conditions Require a Different Checklist
Anaheim gets roughly 280 days of sunshine a year, and that sun does not take a day off from attacking your garage door. The rubber compounds used in bottom weatherstripping, side seals, and top trim are engineered to flex, but UV radiation slowly breaks down the polymers, leaving them brittle and cracked. We’ve replaced bottom seals on south-facing Anaheim doors that looked like they’d been through a decade of weather after just three years. The heat isn’t just cosmetic either: dark-colored steel doors on western exposures can get hot enough to accelerate paint oxidation and weaken adhesive-backed insulation.
Then there’s the dust. Santa Ana winds don’t just dry out the hills; they push fine grit into every gap and hinge joint around your door. That grit mixes with whatever lubricant is on your rollers and hinges, forming an abrasive paste that accelerates wear on metal parts. In coastal-adjacent Anaheim neighborhoods, you might get a little marine humidity, but inland areas deal with dust that’s nearly as fine as flour. A maintenance routine built for this climate focuses on inspection and cleaning first, lubrication second.
Monthly Maintenance Tasks (15 Minutes)
The monthly checklist is about noticing changes before they become failures. None of these tasks require tools beyond a flashlight and a rag. The idea is to build a baseline of what your door looks and sounds like when it’s healthy, so you catch the early warning signs.
- Visual inspection of bottom weatherstripping. Look for cracks, flattening, or gaps where the seal meets the concrete. Anaheim’s UV exposure makes this the single most common wear item on residential doors. If you can see daylight under the door with it closed, the seal is gone and needs replacement before dust and pests find the opening.
- Listen to the door from the outside with the garage closed. Run the opener once. A healthy door has a low, even hum. Grinding, squealing, or a rhythmic thump that wasn’t there last month is the earliest warning of roller wear or a track issue. Don’t ignore a new noise; it won’t fix itself.
- Check the safety auto-reverse. Place a roll of paper towels flat on the floor where the door closes. If the door does not reverse when it contacts the roll, stop using the opener and schedule a service call. This is a safety feature, not a convenience, and it’s the difference between a dented car bumper and something far worse.
- Clear debris from the track channels. Use a brush or a dry rag to remove dust, spider webs, and any small pebbles that have kicked up. Anaheim winds push fine particles into the tracks, and when they accumulate past a certain point, the rollers start to bind.
- Check the door’s exterior surface for dents or warping on south- and west-facing panels. Steel doors in Anaheim can get hot enough to warp if a panel’s paint has degraded and lost its reflective properties. Catching paint oxidation early lets you recoat before the metal underneath deforms.
Set a recurring phone reminder for the first Saturday of the month. Fifteen minutes is enough, and the regularity matters more than perfection. If you miss a month, don’t overcompensate by doing everything twice; just pick up the schedule where you are.
Quarterly Maintenance Tasks (30 Minutes)
Every three months, you go a layer deeper. These tasks involve actual cleaning and lubrication, and they’re the ones that prevent the wear-and-tear calls we see most often in Anaheim homes. If you’re already calling for Garage Door Repair in Anaheim more than once every couple of years, a consistent quarterly routine will extend the gap between service visits significantly.
- Clean the rollers. Use a dry cloth to wipe each roller clean before lubricating. For steel rollers, remove the built-up grit from the bearing area. If you have nylon rollers with ball bearings, a quick wipe is enough. The goal is to remove the abrasive paste that Anaheim’s dust creates when mixed with old lubricant.
- Lubricate hinges and rollers only. A white lithium grease works well on hinges. For rollers, use a silicone-based lubricant. Apply it to the bearing area, not the roller face that contacts the track. You want the wheel to spin freely, not slide through the track on a film of grease, which actually collects more dust and makes things worse.
- Inspect and clean the photo-eye sensors. The small lenses on the safety sensors at the bottom of each track get a film of dust and pollen on them, especially in Anaheim’s dry months. Wipe them with a dry microfiber cloth. If your door occasionally reverses for no reason, dirty sensors are the most common culprit.
- Check the emergency release cord and mechanism. Pull the cord with the door closed. The release should disengage smoothly. If it feels stiff or doesn’t reseat cleanly when you re-engage the opener, the carriage mechanism is gummed with dust and needs attention before the next power outage or opener failure.
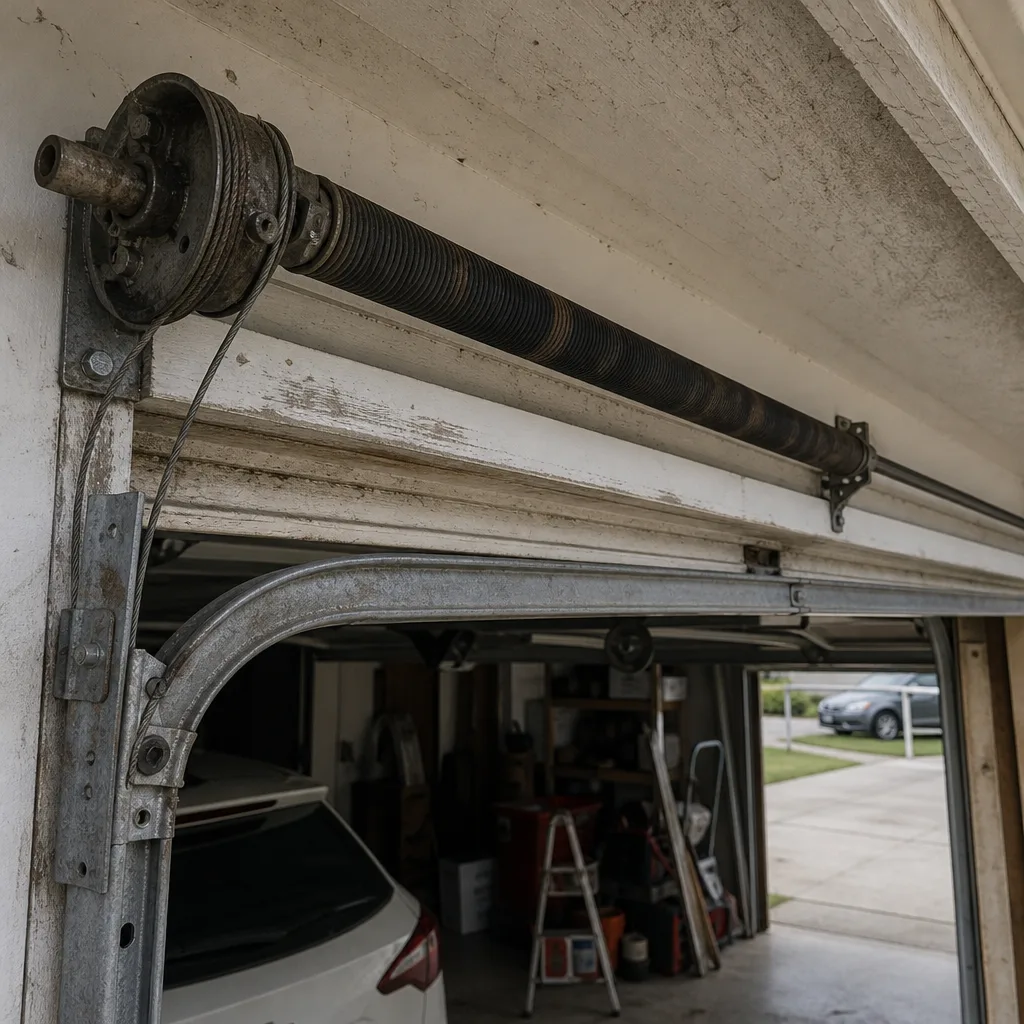
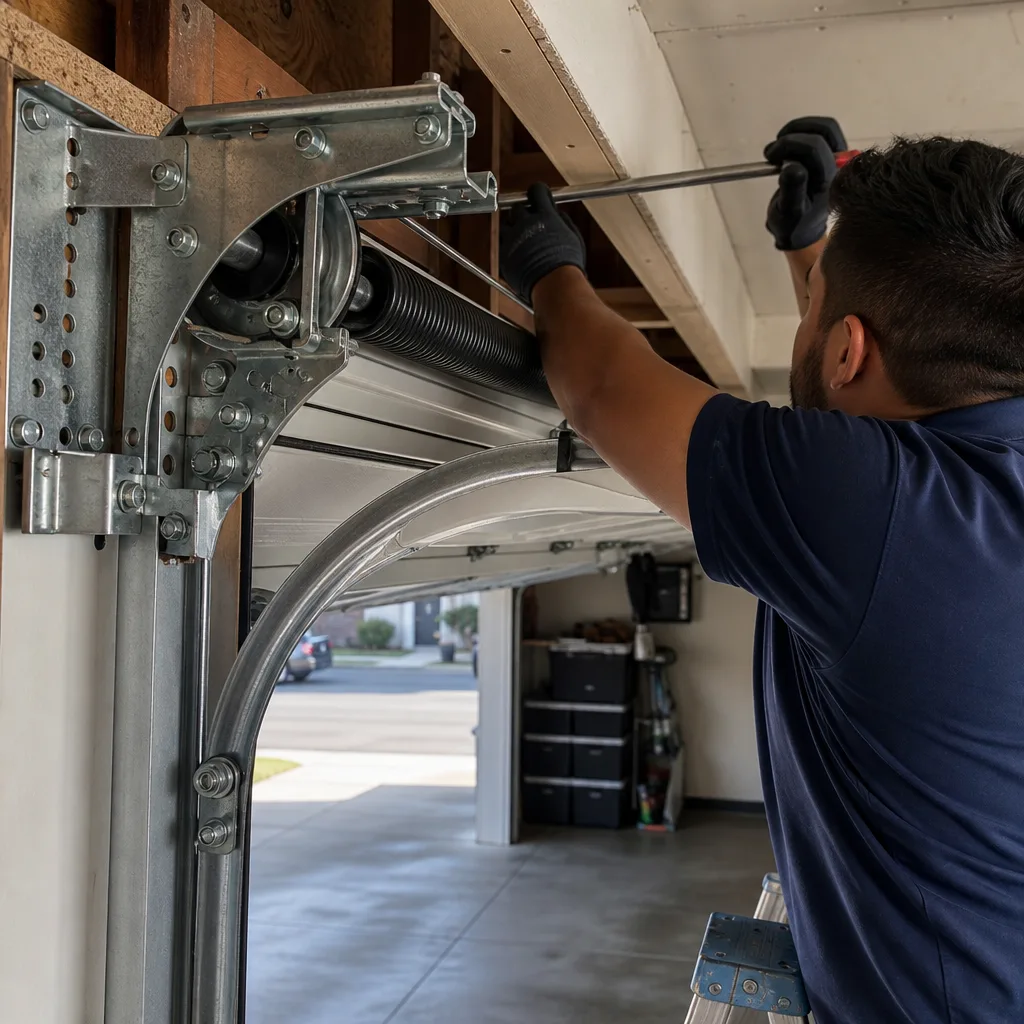
- Inspect cables for fraying. With the door closed, look at the lift cables running alongside each track. They should be taut and uniform. Frayed strands near the bottom drum are a sign of impending failure. Do not attempt to adjust or replace cables yourself. The torsion system is under constant spring tension, and a cable that parts under load can cause serious injury. This is a professional-only repair.
- Tighten any visible bolts and screws. Anaheim’s occasional Santa Ana events shake doors that are even slightly out of adjustment, and the vibration works hardware loose over time. A socket wrench on the track brackets and hinge screws takes two minutes and prevents a loose track from allowing the door to bind mid-travel.
If you’re not comfortable doing any of these tasks, that’s a legitimate response. The point of a checklist is to keep you ahead of failures, not to force you into a maintainer role you don’t want. A professional tune-up twice a year accomplishes the same thing, and many Anaheim homeowners choose that route instead.
Annual Maintenance Tasks (60-90 Minutes)
Once a year, do the deeper work that resets the clock on your door’s most expensive components. The annual checklist is also the time to honestly evaluate whether your door is still worth maintaining or if a replacement makes more financial sense.
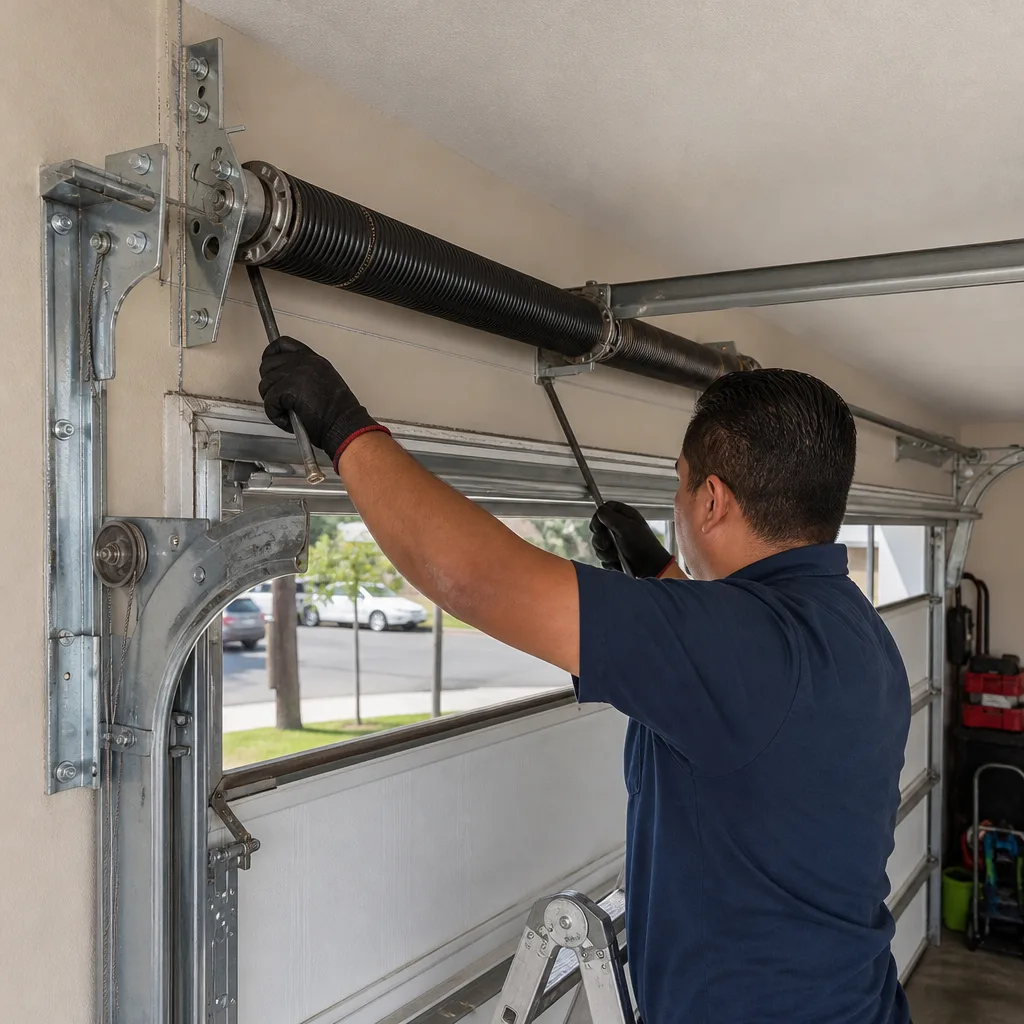
- Perform the balance test. Disconnect the opener using the emergency release cord. Lift the door manually to about waist height. A balanced door stays in place without drifting up or crashing down. If it falls, the springs are losing tension. If it rises, the springs are overtensioned. Both conditions force the opener motor to work harder than designed, shortening its life. More on this test below.
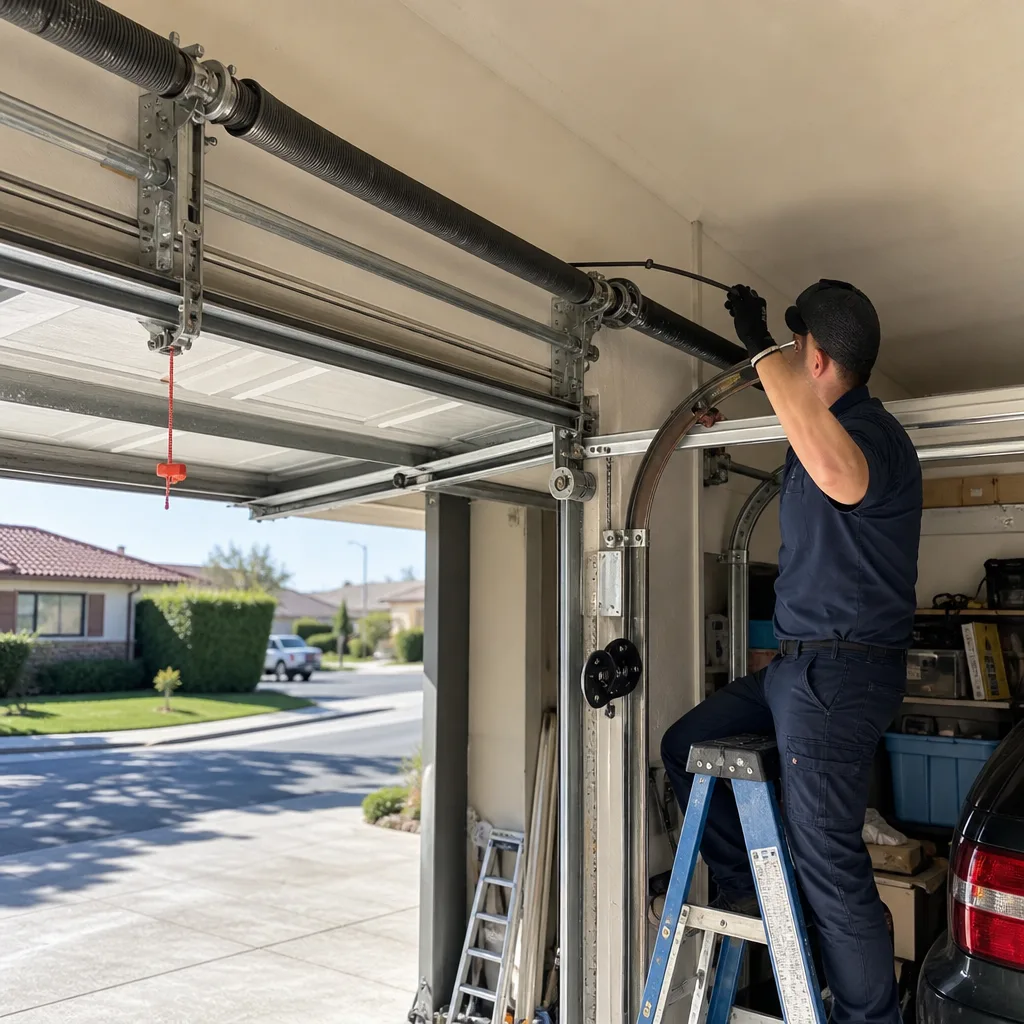
- Lubricate the torsion or extension springs. Use a silicone spray applied liberally along the entire length of each spring. This is not a DIY replacement task, but lubrication is safe and keeps the spring coils from bonding together and creating friction points that lead to early fracture. For a 7-foot door, the typical torsion spring is rated for 10,000 cycles; without proper lubrication, real-world lifespan drops by a measurable margin.
- Remove and clean the track channels thoroughly. Use a degreaser on the inside of the tracks where the rollers ride. Anaheim dust combines with old grease to form a stubborn coating that nothing short of solvent will fully remove. After cleaning, the tracks should be clean metal. Do not apply lubricant to the tracks themselves.
- Test and, if needed, reset the opener’s force settings. Most modern openers from Genie, Chamberlain, and LiftMaster have adjustable open and close force limits. If the settings have drifted or a previous owner set them too high, the opener will keep pushing against an obstruction instead of reversing. The user manual for your specific model has the exact reset procedure, and every major brand publishes these guides online.
- Inspect the top and side weatherstripping. The top seal and the side jamb seals get exactly as much UV exposure as the bottom seal but get inspected far less often. Replace any cracked or flattened sections. A complete weatherseal kit for a standard 16-foot door costs less than a service call, and the installation takes about 45 minutes with basic tools.
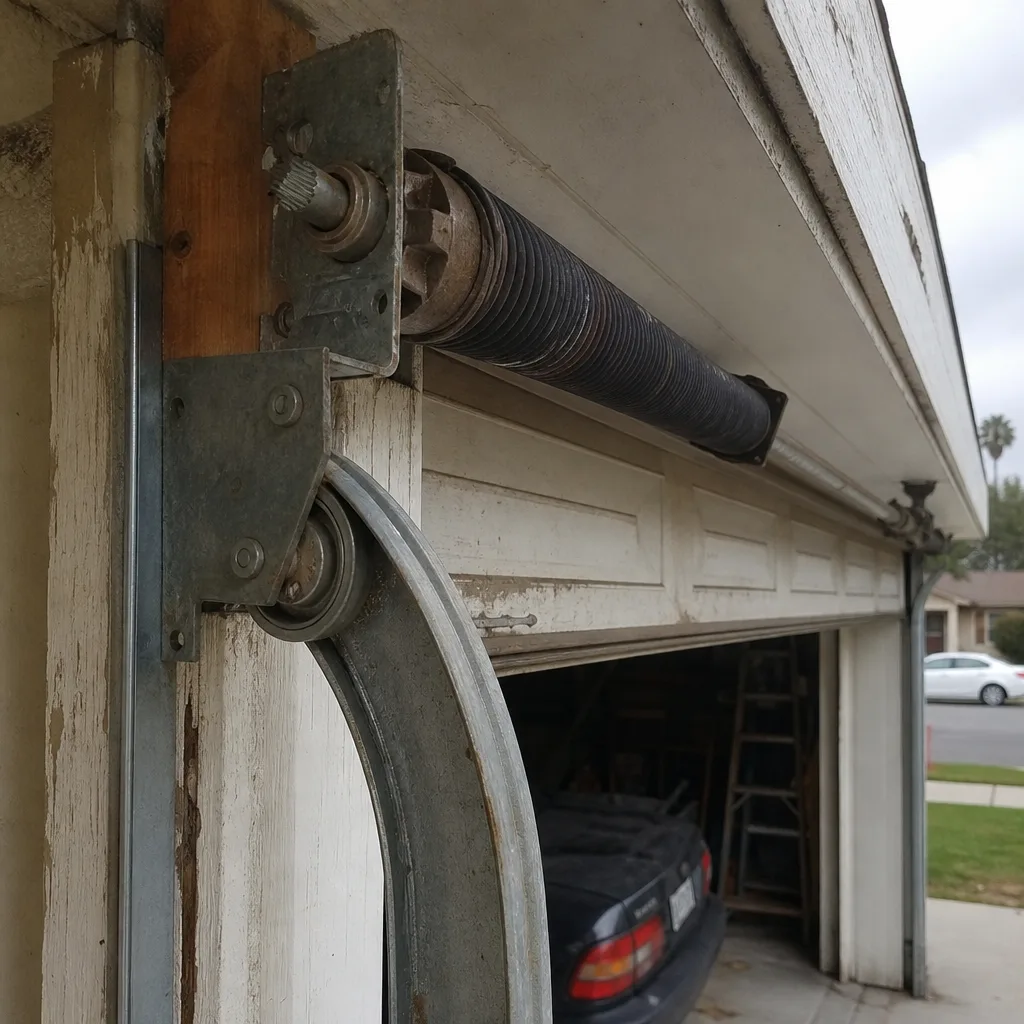
- Evaluate the door’s overall condition honestly. If your door has significant rust on steel panels, wood rot on frame sections, or multiple cracked panels from years of Anaheim heat cycling, start budgeting for replacement rather than continuing to patch. A professional tune-up on a door with 20 years of wear buys you months, not years. When the repair estimate approaches half the cost of a new door, replacement is the smarter financial move. For a clear picture of what replacement involves, see our guide to Garage Door Installation in Anaheim.
The Balance Test: What a Failing Door Actually Feels Like
The balance test is the single most diagnostic check you can perform on a garage door without special tools. It tells you whether the springs are doing their job, and when it fails, the result is a clear signal that the springs need professional attention before they break completely.
Here’s how to perform it correctly:
- Close the door completely.
- Pull the emergency release cord. This disconnects the door from the opener carriage. The door should now move freely by hand.
- Lift the door to waist height, roughly three feet off the ground.
- Release the door. Keep your hands clear but close enough to catch it if it moves unexpectedly.
- Observe what the door does.
What a healthy door does: It stays almost exactly where you left it. Maybe it drifts an inch or two in either direction, but it does not fall or rise on its own. The springs are doing their job, and the door’s weight is properly counterbalanced.
What a failing door feels like: If the door drops when you release it, the springs have lost tension and the door is effectively heavier than the springs can support. You’ll feel this as a door that’s noticeably heavier to lift by hand than it used to be. If the door shoots upward, the springs are overtensioned, which is less common but just as hard on the opener. A third failure mode is a door that is easy to lift halfway and then goes heavy, which indicates broken coils inside a multi-spring system.
The critical thing to understand is that when the balance test fails, the door is not simply annoying – it’s actively damaging itself. An unbalanced door forces the opener motor to work harder every single cycle. For an Anaheim household that cycles the door six to eight times a day, that’s over 2,500 extra load cycles a year on a motor that was never designed to carry the full weight of the door. Motor failure follows spring failure with disturbing predictability.
Spring replacement is not a DIY task. The torsion system above an Anaheim residential door stores enough energy to cause severe injury or death if it releases unexpectedly. If your balance test fails, call a professional. We diagnose and quote the repair before any work begins, so you know the cost up front.
Lubrication Guide: What Goes Where, and What Never To Use
Lubrication errors are the most common homeowner mistake we find on service calls in Anaheim, and the most frequent error is WD-40 on springs. Let’s be direct: WD-40 is not a garage door lubricant. It is a water displacement formula and a penetrating oil. It will strip away the lubricant that is already on your springs, and what it leaves behind is too thin to provide lasting protection. Within weeks, the springs are drier than before you applied it.
Here’s the correct product-to-part mapping for a residential garage door:
- Torsion and extension springs: Silicone spray or a dedicated garage door spring lubricant. Apply a uniform coating along the entire length of each spring coil. Do this annually. The goal is to prevent coil-to-coil friction and protect against corrosion.
- Steel hinges: White lithium grease applied to the pivot points where the hinge plates move against each other. A small dab is enough; overapplication just collects dust.
- Rollers (steel): Silicone spray applied to the bearing area where the wheel meets the stem. Do not lubricate the roller face that contacts the track.
- Rollers (nylon with sealed bearings): Nothing. The bearings are sealed at the factory, and adding lubricant does nothing except attract grit. If these rollers are noisy, they’re worn out and need replacement, not lubrication.
- Track: Nothing. The track is designed to be clean and dry. Any lubricant you apply becomes a dust magnet, and in Anaheim, there’s never a shortage of dust.
- Opener chain or belt (if applicable): A light machine oil on chains only. Belts do not require lubrication and can be damaged by it. Check your opener’s manual for your specific model from Genie, Chamberlain, or LiftMaster.
The quarterly lubrication schedule covers the hinges and rollers. The springs get done annually. Anything more frequent than that is unnecessary for a residential door in Anaheim’s climate, where freeze damage never happens and the main variable is dust accumulation.
What Skipping Maintenance Actually Costs: One Year vs. Five Years
Most maintenance advice tells you to do the work without ever explaining what happens if you don’t. Here’s the honest accounting, based on what we actually see in Anaheim garages, not a worst-case scenario engineered to scare you into a service contract.
Skipped for one year: The consequences are mostly cosmetic and easily reversible. The bottom weatherstripping has cracked and flattened, especially on south-facing doors. Dust is getting in. The rollers are noisy because their lubrication has degraded into a gritty paste. The door probably still works fine, but it sounds strained, and the opener is working slightly harder than it should. A tune-up now resets everything for under $200.
Skipped for five years: The bill is different. The worn weatherstripping has allowed enough dust and heat into the garage to degrade anything stored near the door. The rollers, running unlubricated in dusty tracks, have worn flat spots or seized entirely. The opener force settings, which were never adjusted, have been running at the maximum because the track resistance silently increased. The springs, underlubricated and heated by Anaheim’s sun, have lost tension or fractured. A five-year-skipped door typically needs new rollers, new weatherseals, a track cleaning and realignment, and frequently a spring replacement. The total is commonly $400 to $700, which is close to what a new economy door costs.
The unspoken variable is damage to the opener motor. A door that gets progressively harder to move doesn’t tell you it’s hard. The opener just works harder until it doesn’t. Motor replacement on a modern belt-drive opener costs as much as a spring replacement, and it was entirely preventable with a balance test done once a year. If your opener has already failed, our Garage Door Opener Repair in Anaheim guide explains the repair vs. replace decision.
Common Mistakes to Avoid
- Using WD-40 on springs. It displaces the existing lubricant and leaves the springs drier than before. Use silicone spray or a dedicated spring lubricant.
- Lubricating the track. Tracks should be clean and dry. Adding lubricant creates a dust-trapping slurry that gums up the rollers.
- Ignoring a new noise. A squeal you’ve never heard before is the earliest, cheapest moment to address a problem. Waiting until the noise becomes a clunk usually means the repair bill has doubled.
- Testing the auto-reverse with a body part. Never test the safety reverse with your hand, foot, or any part of your body. Use a roll of paper towels or a piece of scrap lumber. If the reverse mechanism has failed, you do not want to be the thing it fails on.
- Adjusting cables, springs, or brackets without training. The torsion system stores a massive amount of energy. DIY adjustments on tensioned components result in trips to the emergency room every year. This is not a caution against hiring a handyman; it’s a caution against doing it yourself.
- Replacing weatherstripping without addressing the cause. If a south-facing bottom seal cracked after two years, the replacement will too. Consider a UV-stabilized seal designed for high-sun exposure, which is what we install for Anaheim homes where sun damage is the pattern.
- Running the door with a visibly frayed cable. A frayed cable is not a warning; it’s an active failure in progress. Disconnect the opener immediately and leave the door closed until a technician arrives.
When to Call a Professional
Some maintenance items are genuinely DIY-appropriate, and some are not. Here’s the line: anything involving springs, cables, or the bottom brackets that anchor those cables is professional-only work. If your balance test fails, if you see frayed cable strands, or if a spring has visibly broken, don’t try to hold the door open and work around it. Disconnect the opener, keep the door closed, and call a technician.
You should also call if your door has come off its track, if the opener runs but the door doesn’t move, or if you’ve adjusted the opener force settings and the door still reverses unexpectedly. These are diagnostic situations that need someone who sees the failure modes across all major door and opener brands. Ranger Garage Door Service offers free estimates in Anaheim – call (877) 752-4135 to get a technician out to look at what’s happening with your specific door and system.
Frequently Asked Questions
Perform the monthly visual and listening checks every 30 days, the quarterly cleaning and lubrication every three months, and the full annual tune-up once a year. Anaheim’s dust and UV exposure make the quarterly cleaning more important than it would be in a wetter climate, because the grit mixture that forms in track channels is the primary cause of roller wear we see locally.
Most of the inspection, cleaning, and lubrication tasks on this checklist are safe for a homeowner with basic tools and caution. The exceptions are anything involving the torsion springs, lift cables, or track realignment. Those components are under constant tension and should only be handled by a trained technician. Call (877) 752-4135 for an estimate if you’re uncertain where the line is.
Sun-damaged weatherstripping is the most common issue in Anaheim, especially on south-facing and west-facing doors. The bottom seal and side jamb seals crack, flatten, or pull away from the frame after a few years of intense UV exposure, allowing dust, heat, and pests into the garage. UV-stabilized replacement seals are available and last measurably longer in our climate.
Perform the balance test with the opener disengaged. If the door drops when released at waist height, the springs have lost tension and need professional replacement. Loud pops during the balance test, a visible gap in the spring coil, or a door that’s suddenly much heavier to lift by hand are all definitive signs of spring failure. Lubrication cannot restore tension to a spring that’s already fatigued.
Yes. In Anaheim’s dry, dusty conditions, you want lubricants that stay put and don’t attract grit. Silicone spray on springs and rollers works well because it cleans as it lubricates and leaves a dry film. White lithium grease on hinges is fine because those pivot points are less exposed to airborne dust. Avoid anything wet or penetrating, which just creates a sticky surface for dust to accumulate on.
A standard residential tune-up in Anaheim typically runs between $95 and $165, depending on the door type and what’s included. The price is quoted and agreed before any work starts, so there are no surprises on the invoice. If the tune-up reveals a need for parts like springs or rollers, those are priced separately and approved by you first. Call (877) 752-4135 for an exact quote on your specific door.
The Bottom Line
A garage door maintenance checklist only works if it matches the environment your door actually lives in. For Anaheim, that means UV-stabilized weatherseals, aggressive dust management, quarterly cleaning of the track channels, annual lubrication of the springs, and a balance test you perform faithfully once a year. The cost of doing this is about two hours a year and less than $40 in lubricants and seals. The cost of not doing it is spring replacement, opener motor failure, and track damage that runs into the hundreds. The math is simple, and now you know exactly what to do. For more guides & resources, explore our blog.
If any task on this list makes you uneasy, or the balance test revealed a problem you didn’t know you had, call us at (877) 752-4135 for a free estimate. We work on the brands already installed in your garage, we quote before we work, and we’ll tell you honestly whether a repair or a replacement makes more sense.
Written by the team at Ranger Garage Door Service, serving Anaheim since 2018.
See the difference
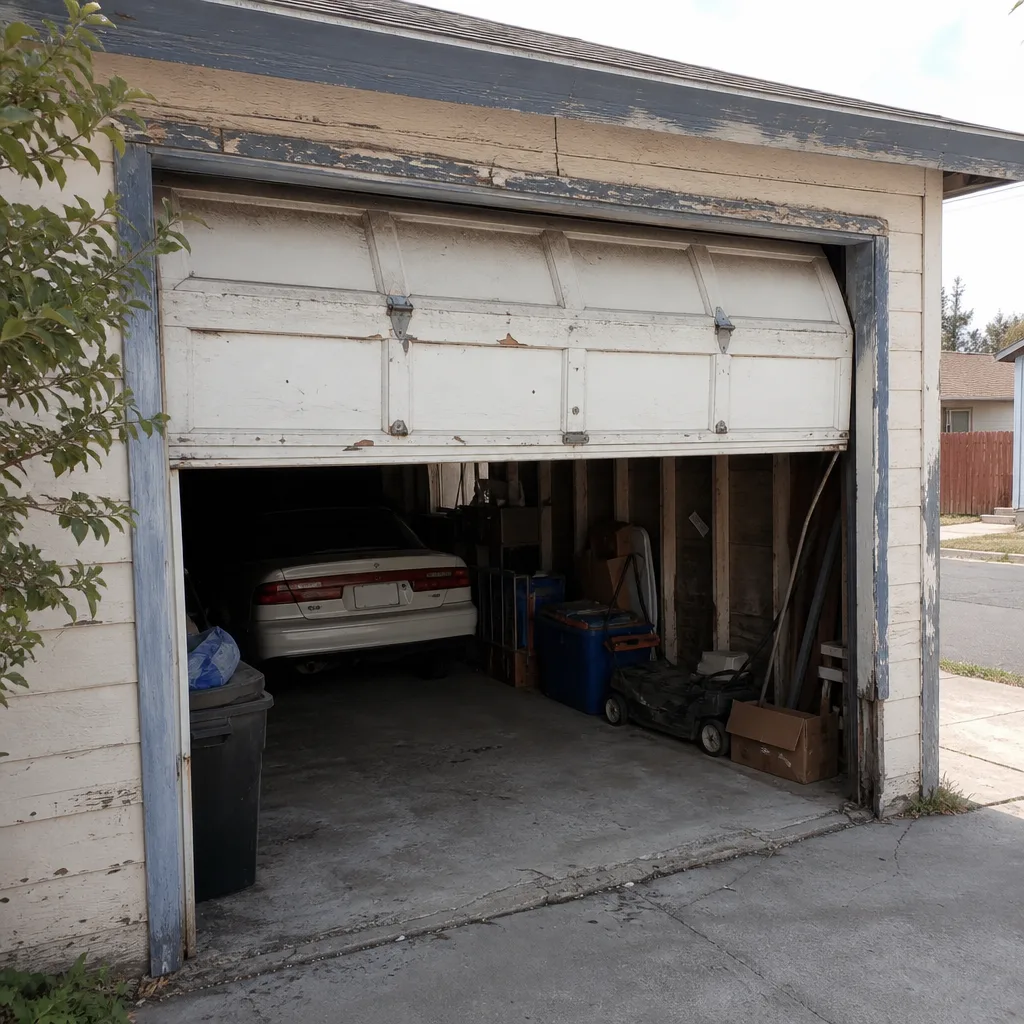 Before
 After
 Before
 After
 Before
 After