Last updated October 31, 2026
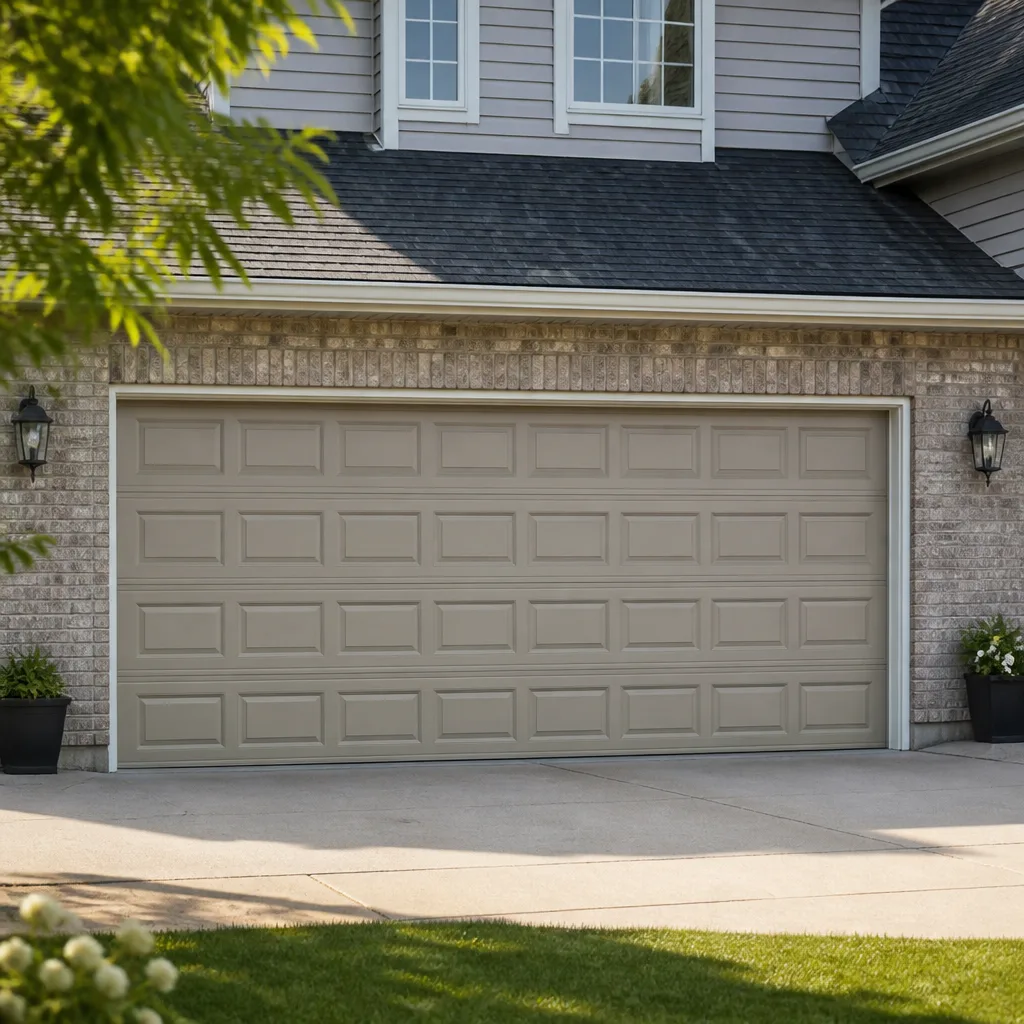 Raised-panel steel
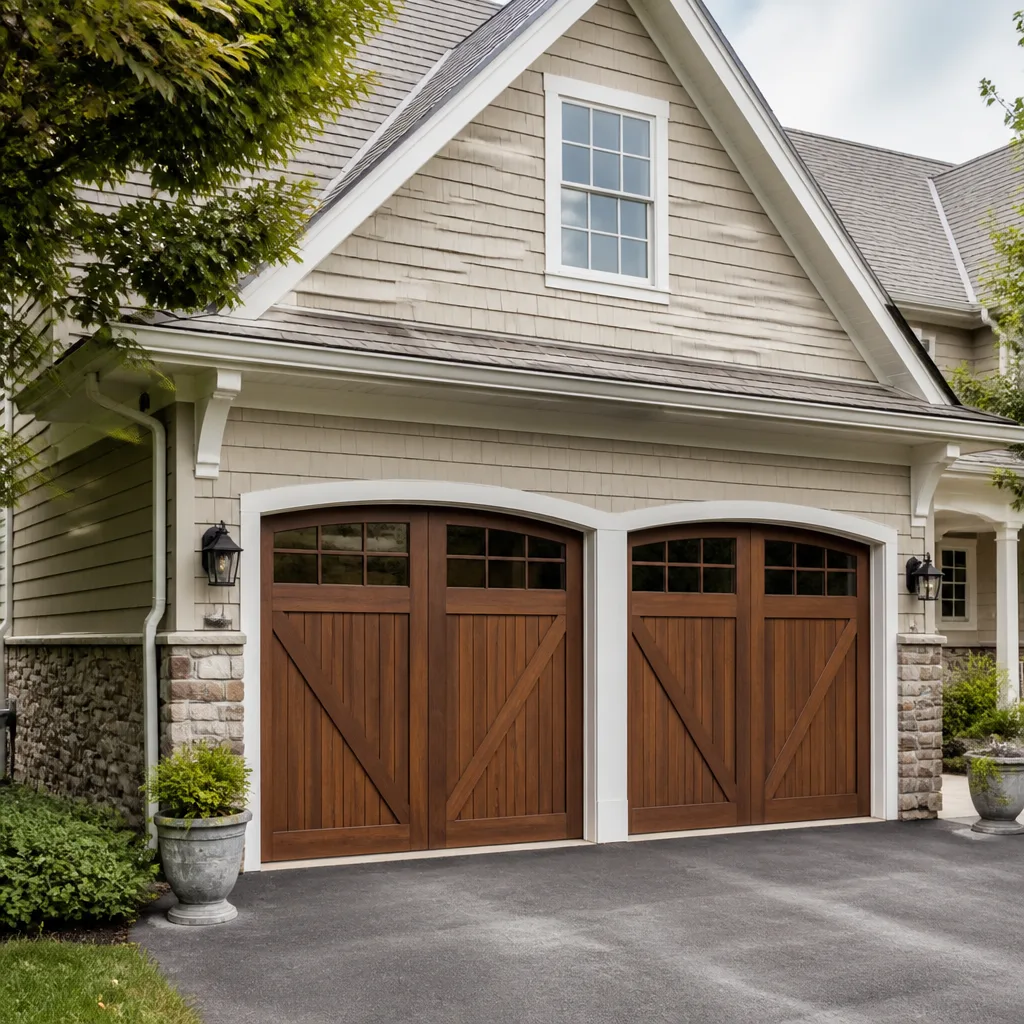 Carriage house
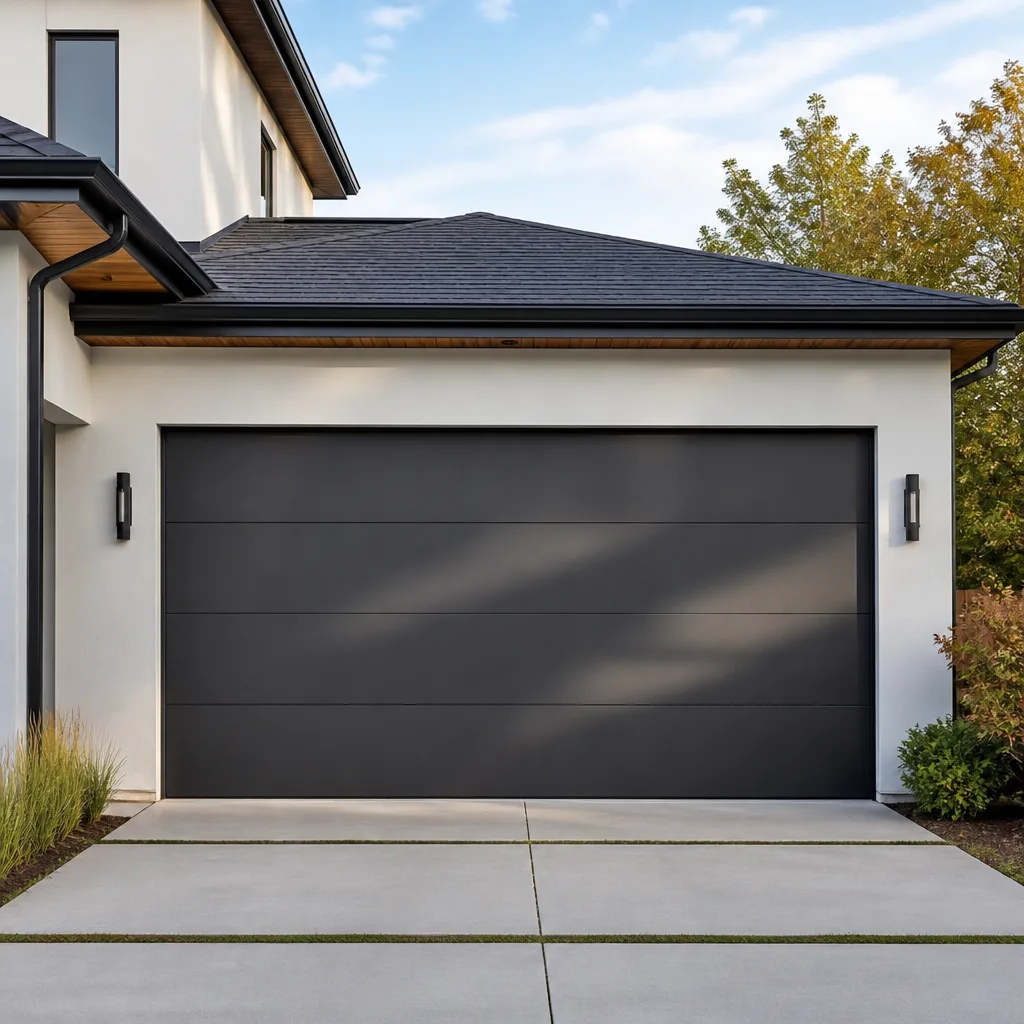 Modern flush
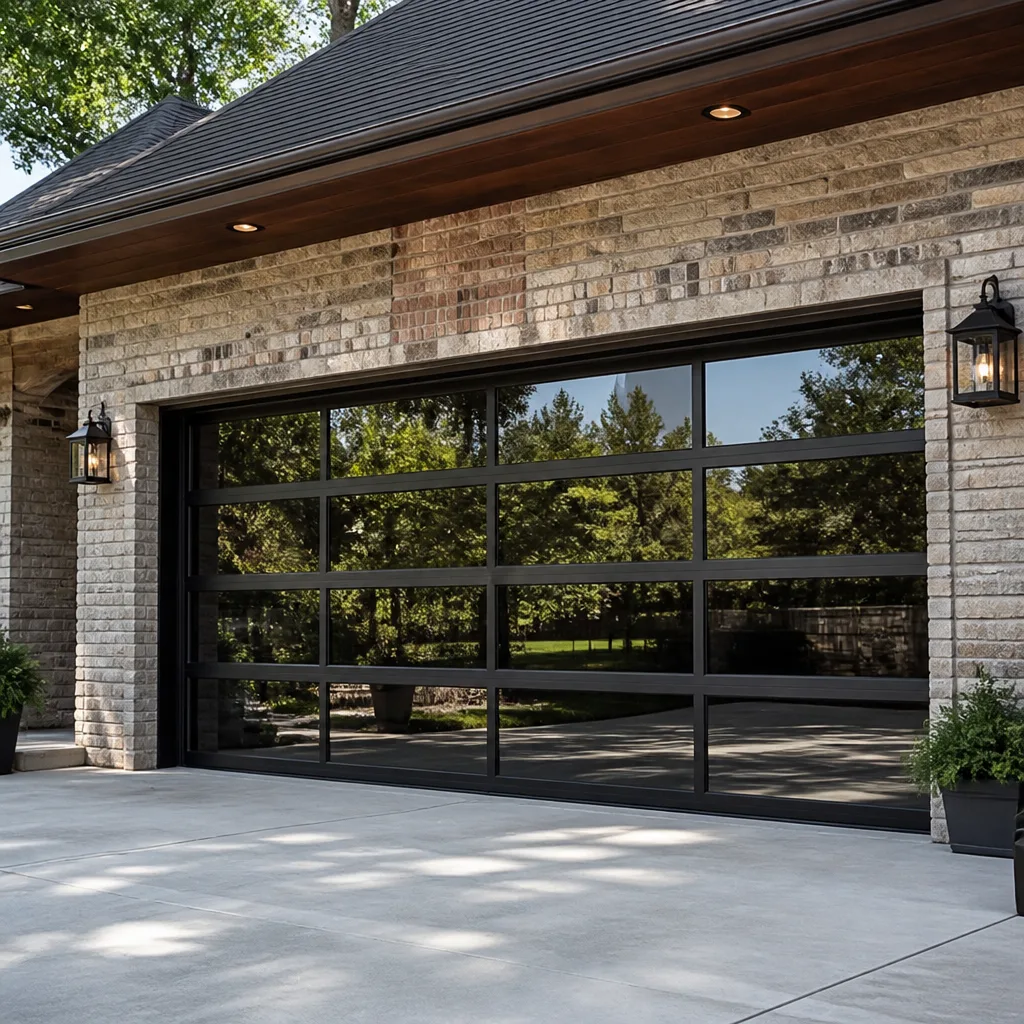 Full-view glass
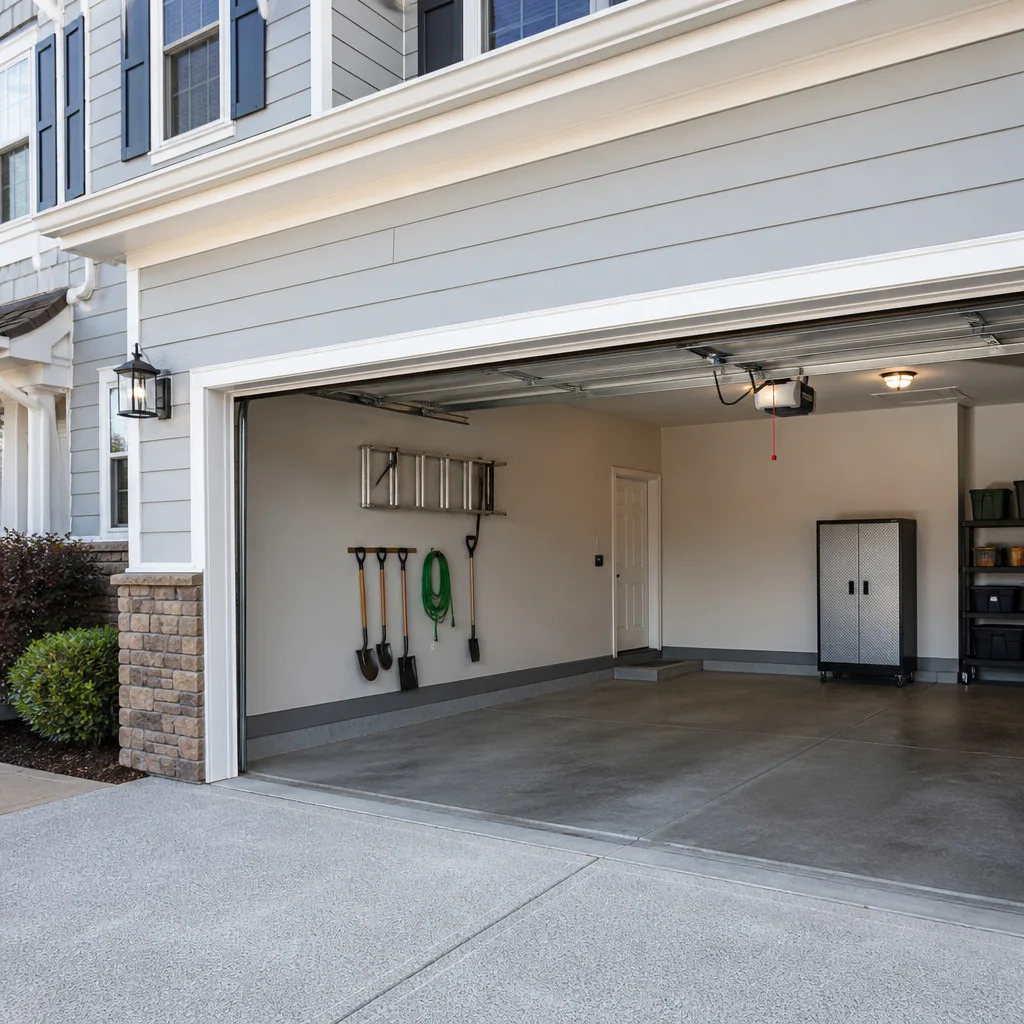 LiftMaster openers
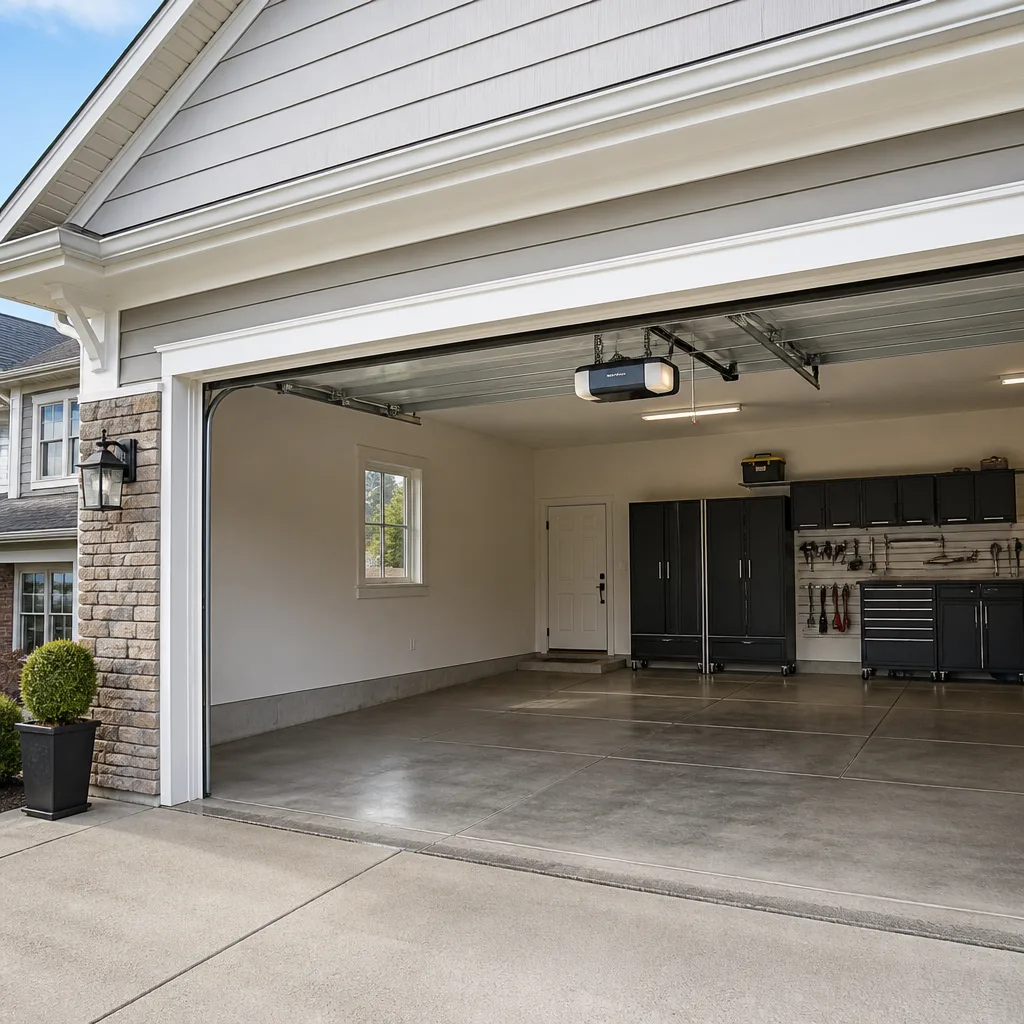 Chamberlain openers
Full 25-point door and opener safety check with every visit - springs, cables, rollers, tracks, and your LiftMaster or Chamberlain opener included
You get a price before we start. It does not change when the truck arrives.
Get your free estimateGarage Door Repair Troubleshooting: Common Problems and How to Fix Them
Most garage door troubleshooting guides fail homeowners because they treat every symptom like a standalone problem. The grinding noise gets one paragraph. The slow operation gets another. The reversal before the floor gets a third. But here’s what we’ve learned from thousands of service calls across Anaheim: your garage door rarely breaks in three places at once. It breaks in one place and tells you about it three different ways. This guide teaches you to read the pattern, not just the loudest symptom. If your door reverses before it hits the ground AND makes a grinding noise AND runs slower than usual, those aren’t three separate problems. They’re one failing drive gear showing you exactly what it needs. We’ll walk through the symptom clusters that point to single root causes, the tests you can run safely, and the moments when the smartest troubleshooting move is picking up the phone.
Styles & brands we work with
Quick Answer
Garage door troubleshooting starts with grouping symptoms, not treating them individually. Most failures trace to one of five root causes: broken torsion springs, worn drive gears, misaligned safety sensors, track obstruction, or opener logic-board failure. Run the manual disconnect test first to isolate door mechanics from opener electronics, then the balance test to check spring condition. If the door is heavy, won’t stay up, or the spring shows a visible gap, stop and call a professional. Torsion springs hold enough stored energy to cause serious injury.
Table of Contents
- Symptom Clusters: Reading the Pattern Instead of the Noise
- The Five Most Misdiagnosed Garage Door Problems
- Safe Tests You Can Run Before Calling Anyone
- How to Read Opener Error Codes on LiftMaster, Chamberlain, and Genie
- Spring Failure vs. Opener Failure: How to Tell the Difference
- Anaheim-Specific Factors: Heat, Salt Air, and Older Homes
- Common Mistakes to Avoid
- When to Call a Professional
- Frequently Asked Questions
- The Bottom Line
Symptom Clusters: Reading the Pattern Instead of the Noise
When we roll up to a home in Anaheim for a Garage Door Repair in Anaheim, homeowners usually describe the noisiest symptom first. The screech. The thud. The door that won’t close. But experienced technicians listen for the quieter symptoms trailing behind the loud one, because garage doors are mechanical systems where failures cascade in predictable ways.
Think of it like a car. A worn CV joint clicks on turns, hums at speed, and eventually vibrates at highway velocity. Those aren’t three problems. They’re one worn component announcing itself through three different operating conditions. Garage doors work the same way.
Here are the most common symptom clusters we see, and the single root cause behind each:
Cluster One: Grinding + Slow Operation + Reversal Before Floor
This is the classic failing drive gear pattern on LiftMaster and Chamberlain openers manufactured before 2015. The drive gear is a sacrificial plastic component inside the opener’s main housing. When it strips, you get metal-on-plastic grinding, reduced speed because the motor is working against stripped teeth, and reversal when the opener’s force sensor detects resistance it interprets as an obstruction. One part, three symptoms. Replace the gear and all three disappear.
Cluster Two: Door Only Opens Six Inches + Loud Bang + Cable Hanging Loose
This is a broken torsion spring, full stop. The spring does the heavy lifting. When it snaps, the opener tries to lift the full weight of the door, can’t, and reverses. The bang is the spring letting go. The loose cable is the tension imbalance. Homeowners sometimes call this a dead opener. It isn’t. It’s a spring that gave out and an opener that’s still perfectly fine.
Cluster Three: Door Reverses Consistently at Same Spot + No Obstruction Visible
This points to track damage or a bent roller at that specific height. The opener’s force sensor triggers at the same point every time because that’s where the physical resistance lives. Clean tracks, tighten bolts, inspect rollers. Replacing a bent roller often fixes this completely.
Cluster Four: Door Closes Then Immediately Reopens + Sensor Lights Blinking
This is almost always photo-eye misalignment. The sensors at the bottom of each track must see each other continuously. A bump from a trash can, a loose bracket, or sun glare hitting one sensor at certain times of day will break the beam. The door reverses as a safety response. Straightening the sensors fixes it in minutes.
The takeaway: before you buy parts or call for service, write down every symptom you’ve noticed, even the small ones. The pattern tells the story. A single symptom tells you something is wrong. Three symptoms together tell you exactly what.
The Five Most Misdiagnosed Garage Door Problems
Misdiagnosis costs homeowners money. We’ve replaced perfectly good openers in Anaheim that were blamed for spring failures. We’ve watched homeowners buy new remotes when the real problem was logic-board interference from a neighbor’s new LED bulbs. Here are the five problems we see misdiagnosed most often, and what’s actually happening.
1. The “Dead Opener” That’s Actually a Broken Spring
This is the big one. Homeowner presses the button, hears the motor hum, sees the door barely move, and concludes the opener died. But if the motor hums, it’s getting power and trying to work. The reason it can’t lift the door is that the torsion spring, which counterbalances the door’s weight, has broken. Your opener was never designed to lift a 150-400 pound door alone. It’s like expecting a bicycle chain to tow a truck. The fix is a spring replacement, not a new opener. A quick test: pull the manual release cord and try lifting the door yourself. If it’s extremely heavy or won’t stay up, the spring is the problem, not the opener.
2. The “Faulty Sensor” That’s Actually Sun Interference
In Anaheim, we get real sun. And direct sunlight hitting a safety sensor at the right angle will wash out the infrared beam, causing the door to reverse every time it tries to close in late afternoon. It happens most often on west-facing garage doors. The fix isn’t new sensors. It’s shielding them, swapping their positions, or sometimes just closing the door at a different time of day. Before you buy sensors, stand in front of them during the problem window. If one light is dim or flickering, sun glare is your culprit.
3. The “Broken Remote” That’s Actually a Logic Board Problem
When a remote stops working, the default assumption is dead batteries. You replace the batteries. Still nothing. You buy a new remote. Still nothing. The wall button works fine. This pattern points to the opener’s receiver logic board, not the remote. Genie openers manufactured between 2010 and 2016 have a known issue with the receiver module degrading over time. The fix is replacing the logic board, not accumulating more remotes. If your wall console opens the door but no remote works, and you’ve tried fresh batteries, the opener is the problem.
4. The “Track Out of Alignment” That’s Actually a Settling Foundation
Older Anaheim homes move. Soil shifts, concrete settles, and suddenly the garage door binds at one point in its travel. You can adjust the track a quarter inch, and it helps for a month. Then the binding returns. That’s because the track wasn’t the original problem. The garage floor or wall has shifted, and the tracks are now hung from a moving reference point. This doesn’t mean major foundation work, but it does mean the track repair requires re-shimming and re-securing, not just loosening bolts and re-tightening them.
5. The “Needs More Grease” That’s Actually a Worn Roller
Screeching garage doors get greased. Sometimes that’s the right call. But if the screech returns within weeks, and you’re using a spray lubricant, the roller bearings are probably shot. Lubricant masks the symptom temporarily. Roller replacement is the permanent fix. We see this constantly with nylon rollers that have exceeded their service life. Replace the noisy roller, and the noise stops without adding more grease to the equation.
Each of these misdiagnoses shares a common thread: the visible symptom gets treated while the underlying cause goes unaddressed. The treatment feels like progress because the noise stops for a few days. Then the problem returns, and the homeowner has spent money on a fix that was never going to work.
Safe Tests You Can Run Before Calling Anyone
You don’t need special tools or mechanical experience to gather useful diagnostic information. These three tests isolate the major systems of your garage door: the door mechanics, the spring condition, and the opener’s force sensitivity. Each one is safe when done correctly, and each gives you information that makes the difference between a clear diagnosis and a guess.
Test One: The Manual Disconnect
What it tests: Whether the problem is in the door mechanics or the opener electronics.
How to run it:
- Close the garage door completely.
- Locate the red emergency release cord hanging from the opener rail.
- Pull the cord down and away from the door. You’ll hear a click as the trolley disengages from the chain or belt.
- Using the handle on the door (never the panels), lift the door manually.
What you’re looking for: The door should lift smoothly with moderate effort and stay open on its own at the halfway point. If it’s heavy, hard to move, or wants to slam shut when you let go, the problem is in the door itself, most likely the springs. If the door moves smoothly and stays put, the problem is in the opener.
Pass/Fail criteria: Smooth movement = pass, door mechanics are fine. Heavy or jerky movement = fail, springs need professional evaluation.
Safety note: Stand to the side of the door, not directly underneath it, when running this test. A door with a broken spring can come down hard.
Test Two: The Balance Test
What it tests: Spring tension and overall door balance.
How to run it:
- With the door in manual mode from Test One, lift it about three feet off the ground.
- Let go.
- If it stays roughly in place, move it to the halfway point and let go again.
- Finally, try the three-quarter open position.
What you’re looking for: A properly balanced door stays wherever you put it. If it drops at any position, the spring is losing tension. If it rockets upward from the closed position, the spring is over-tensioned.
Pass/Fail criteria: Door holds position at all heights = pass. Door drifts up or down = fail, spring needs adjustment or replacement.
Safety note: Do not attempt to adjust spring tension yourself. Torsion springs store enough energy to cause serious injury or death if they release unexpectedly. This test only identifies the condition. A qualified technician makes the repair.
Test Three: The Force Resistance Test
What it tests: The opener’s force sensitivity settings and whether the safety reversal is working correctly.
How to run it:
- With the door connected and working, place a 2×4 flat on the ground where the door will land.
- Close the door normally.
- The door should hit the board and reverse direction within two seconds.
What you’re looking for: A properly adjusted opener reverses on contact with the board. If the door crushes the board or keeps trying to close, the force setting is too high and needs adjustment. If the door reverses when there is no obstruction, the force setting is too low.
Pass/Fail criteria: Door reverses on contact with the 2×4 = pass. Door does not reverse = fail, force settings need adjustment for safety.
Safety note: This is a required safety feature on all openers manufactured after 1993. If your opener fails this test, it is not just inconvenient. It is a safety hazard, especially in households with children or pets.
These three tests give you a clear picture of where the problem lives. Run them in order. By the time you’re done, you’ll know whether you’re dealing with a mechanical issue, an opener issue, or a safety system issue, and you’ll be able to have an informed conversation with any technician you call.
How to Read Opener Error Codes on LiftMaster, Chamberlain, and Genie
Modern garage door openers diagnose themselves. You just need to know how to read what they’re telling you. Each major brand uses a slightly different language, but once you understand the system, you can decode most error codes without hunting down a manual.
LiftMaster and Chamberlain Error Codes
Both brands share the same parent company and use similar diagnostic patterns. Look for the round LED light on the motor unit and the up/down arrow buttons.
- 1 flash, then pause: No sensor input. The safety sensors are not communicating. Check alignment and wiring.
- 2 flashes, then pause: Sensor wire shorted or reversed. A staple through the wire or a loose connection at the terminals.
- 3 flashes, then pause: Door control wire shorted. The wall console is disconnecting or the wire is damaged.
- 4 flashes, then pause: Sensor misalignment or obstruction. Clean the lens, check for spider webs, realign.
- 5 flashes, then pause: Motor overheated. Let it cool down and check for an unbalanced door forcing the motor to work too hard.
- 6 flashes, then pause: Logic board issue. This is the one that usually means a new board.
To clear an error code on LiftMaster or Chamberlain, press and hold the learn button for six seconds until the LED goes out. Then run the door again and see if the code returns. If it does, that’s a real problem, not a temporary hiccup.
Genie Error Codes
Genie uses a different system. The round LED on the motor head will blink red or green in a pattern, and the wall console shows a numeric display on newer models.
- Rapid blinking red LED: Safety beam obstruction. Check sensor alignment and obstacles.
- Slow blinking red LED: Door contact reversal triggered. Something hit the floor or an object is in the door’s path.
- Solid red LED: Opener is locked. Press and hold the lock button on the wall console for three seconds.
- Numeric code 1-1: Limit switch problem. Door is not closing fully or the limit settings have drifted.
- Numeric code 1-2: Force setting problem. The opener is trying but meeting resistance.
- Numeric code 2-1: Motor sensor issue. The opener doesn’t know where the door is.
Genie openers store error codes in memory. To access stored codes on models with a numeric display, press and hold both the up and down arrow buttons on the wall console for five seconds. The display will cycle through the last few errors.
For any opener Garage Door Opener Repair in Anaheim starts with reading these codes correctly. We’ve had customers tell us their opener was dead when the code said the sensors were simply misaligned. Five minutes of diagnosis beats buying a new opener that you didn’t need.
Spring Failure vs. Opener Failure: How to Tell the Difference
This is the single most important distinction in garage door repair, and it’s the one homeowners get wrong most often. The symptoms overlap, and the cost difference between the two fixes is significant enough that you want to get this right.
What a Broken Spring Looks and Sounds Like
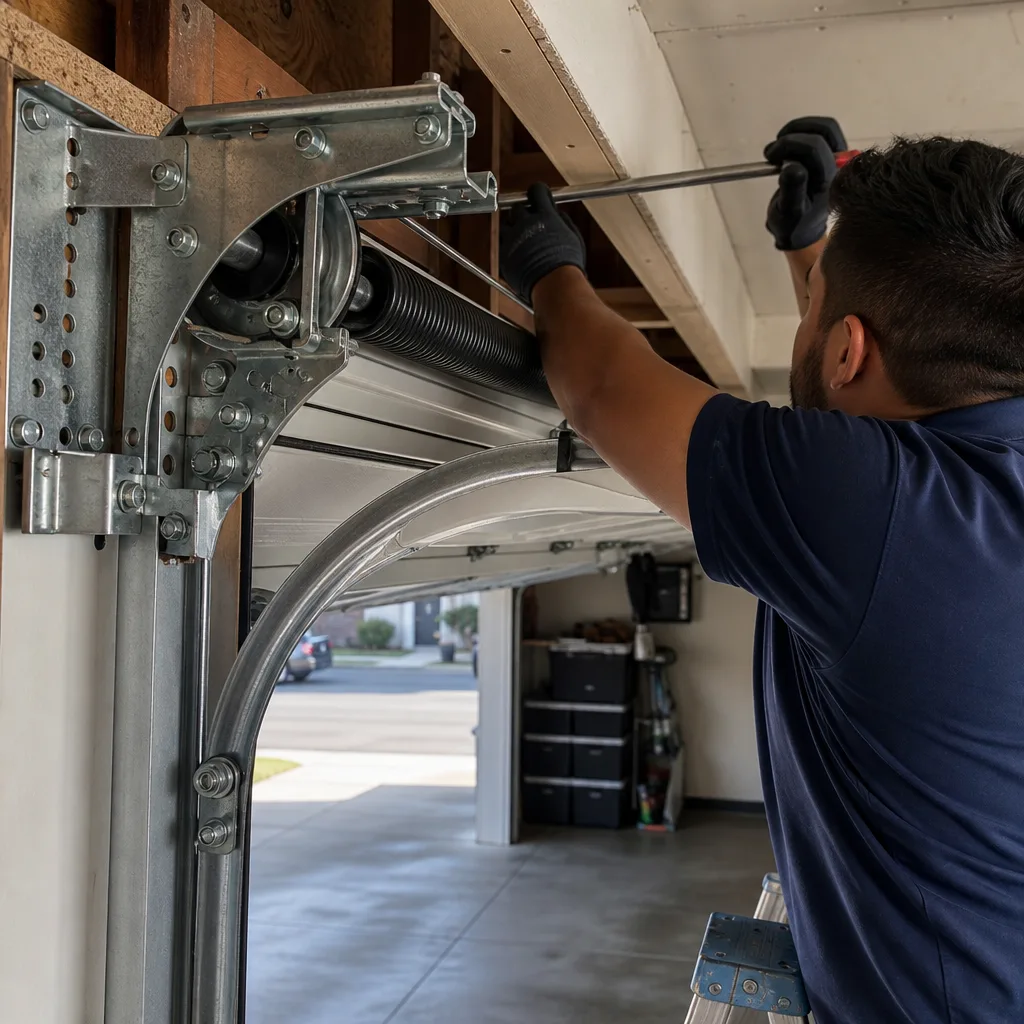
Torsion springs snap loudly. In our experience across Anaheim, homeowners describe it as a gunshot, a car backfiring, or a heavy object falling in the garage. If you were inside the house when it happened, you heard it. The spring sits above the door, mounted on a metal rod. When it breaks, you’ll see a visible gap in the coil, typically in the middle of the spring.
After the spring breaks, the door becomes impossibly heavy. The opener may lift it a few inches using sheer force, then give up. You might see cables hanging loose or the door sitting crooked in the opening. The spring is now doing zero percent of its job, and the door weighs what it actually weighs: between 150 and 400 pounds depending on size and material.
What a Failing Opener Looks and Sounds Like
A failing opener makes its own noises, but they’re different. You’ll hear grinding from the motor unit itself, clicking that sounds like the opener is trying to engage but can’t, or a hum with no movement at all in the case of a burned-out capacitor. The door feels normal when you disengage the opener and lift it manually. The problem is in the machine, not the door.
Here’s the diagnostic shortcut we use on every service call:
- Disconnect the opener. Lift the door by hand. If it’s heavy, it’s the spring. If it moves freely, it’s the opener.
- Look at the spring. A visible gap in the coil is a broken spring, no further testing needed.
- Listen to the opener. Grinding, clicking, or humming from the motor unit while the door doesn’t move = opener failure.
- Check if the lights flicker. When an opener motor struggles against a broken spring, the lights on the unit often dim or flicker with the load.
We work on openers and doors from LiftMaster, Chamberlain, Genie, and Craftsman, among others. The spring might be from Wayne Dalton or Raynor. The opener might be from a different brand than the door. None of that matters for diagnosis. The tests work the same regardless of what names are on the equipment.
One more note on springs: they have a service life measured in cycles, not years. A standard torsion spring is rated for about 10,000 cycles. For an average family opening and closing the door four times a day, that’s roughly seven years. If your springs are older than that and you live in Anaheim, where salt air from the coast accelerates metal fatigue, you’re on borrowed time.
Anaheim-Specific Factors: Heat, Salt Air, and Older Homes
Garage doors in Anaheim face different conditions than garage doors in Phoenix or Seattle. Our climate is generally mild, but it has specific characteristics that affect how garage doors fail and how they should be repaired.
Coastal Salt Air and Metal Components
Depending on where you live in Anaheim, you’re between six and fifteen miles from the Pacific. That’s close enough for salt air to reach your garage door hardware, especially in neighborhoods like West Anaheim near the 5 freeway corridor. Salt accelerates corrosion on springs, cables, rollers, and track hardware. We regularly see spring failures in Anaheim at the 7-year mark that would last 10-12 years in inland cities. If you live closer to the coast, expect to replace springs more frequently and consider upgrading to higher-cycle springs when you do.
Heat and Opener Electronics
Anaheim summers push garage temperatures well over 110 degrees, especially in attached garages with west-facing exposure. That heat breaks down opener electronics faster than the components’ rated lifespan suggests. Capacitors dry out. Logic boards warp. We see more opener failures in August and September than any other months, and it’s not coincidence. The heat isn’t the sole cause, but it’s an accelerant for components already aging.
Older Housing Stock and Non-Standard Openings
Anaheim has homes from every decade since the 1920s. The older the home, the less standard the garage door opening. Pre-1960s garages often have non-standard door sizes that limit replacement options and require custom work. Post-1980s developments like Anaheim Hills have more standard sizing but are now at the age where original doors and openers are reaching end of life. Knowing your home’s era helps anticipate what you’ll encounter when it’s time for Garage Door Installation in Anaheim.
Our techs carry a mental map of Anaheim neighborhoods and the housing stock in each. A Craftsman opener in a 1980s tract home in East Anaheim behaves differently than a newer Chamberlain in a 2010s Anaheim Hills build. That context matters for diagnosis. It’s not just about what brand is on the equipment. It’s about what conditions that equipment has endured.
Common Mistakes to Avoid
- Greasing the tracks. Garage door tracks are meant to be dry. Grease attracts dirt and creates a sticky paste that makes the door run worse. Lubricate the rollers, hinges, and springs. Leave the tracks alone.
- Replacing the opener when the spring is broken. If the motor hums but the door won’t move, test the spring first. A new opener won’t lift a heavy door any better than the old one did.
- Adjusting spring tension without proper tools and training. Torsion springs kill when they release unexpectedly. This isn’t a weekend project. It’s the most dangerous repair in residential construction.
- Ignoring manufacturer service intervals. Springs have a cycle rating. Rollers wear out. Cables fray. Preventative replacement of wearing parts is cheaper than emergency repair after failure. In Anaheim, where salt air accelerates wear, the schedule matters even more.
- Using the wrong lubricant. WD-40 is a cleaner, not a lubricant. Use lithium grease or a garage door-specific spray on moving metal parts. The wrong product gums up and creates more friction than it solves.
- Replacing one spring on a two-spring door. Both springs wear at the same rate. If one snaps, the other is past its service life too. Replacing both at once costs less than two service calls.
- Failing the safety reversal test and letting it ride. If your opener doesn’t reverse on a 2×4, it’s not just a maintenance issue. It’s a safety hazard that could seriously injure a child or pet. Get it fixed before you use the door again.
When to Call a Professional
Some garage door problems have clear DIY fixes. Resetting a breaker. Aligning photo-eye sensors. Replacing remote batteries. These are reasonable for any homeowner. But the moment the problem involves stored mechanical energy, the calculus changes. Torsion springs hold enough force to kill or maim if they release while you’re working near them. Cables under tension can slice. A door that comes off its tracks can fall on whoever is standing beneath it. In these situations, the correct troubleshooting is recognizing that the problem requires a professional, not attempting the repair with adjustable wrenches and determination.
Ranger Garage Door Service offers free estimates in Anaheim. If you’ve identified a broken spring, a snapped cable, or an opener that’s failed beyond a simple reset, call (877) 752-4135. We’ll give you an honest diagnosis and a clear price before any work starts. If the fix is something you can handle yourself, we’ll tell you that too. For everything else, Ranger Garage Door Service home is one call away.
Frequently Asked Questions
Most garage door service calls in Anaheim range from $75 to $150 for the diagnostic visit, though many companies, including Ranger Garage Door Service, apply that diagnostic fee toward the repair if you proceed. Simple fixes like sensor realignment or force adjustment run under $200. Spring replacement typically falls between $250 and $450 per spring. Opener replacement runs $350 to $700 installed depending on the model. The exact quote depends on your door, your opener, and what the diagnosis reveals. Call (877) 752-4135 for a free estimate and we’ll give you a firm price before any work begins.
This nearly always means a broken torsion spring. The opener motor runs, but the spring that counterbalances the door has snapped, leaving the opener to lift 150-400 pounds alone, which it can’t do. Disconnect the opener with the red release cord and try lifting the door manually. If it’s extremely heavy, the spring is broken, and you need a spring replacement, not a new opener.
You should not. Torsion springs are under enormous tension, and if they release while you’re working on them, they can cause serious injury or death. Professional spring replacement requires specialized winding bars, an understanding of spring geometry, and experience with the specific hazards involved. This is the one repair where the cost of professional service is always justified.
A standard torsion spring is rated for about 10,000 cycles, which translates to roughly 7-10 years for most households. In Anaheim, salt air from the coast accelerates corrosion on spring steel, so the low end of that range is more realistic unless you upgrade to high-cycle springs, which can last 20,000 cycles or more. If your springs are over seven years old, have them inspected before they fail.
Direct sunlight hitting one of your safety sensors can wash out the infrared beam, causing the opener to think there’s an obstruction and reverse the door. This is most common on west-facing garage doors in the late afternoon. The fix is usually as simple as shielding the sensor, swapping the sending and receiving sensors, or installing sun-guard covers. It’s not a sensor failure, and replacing the sensors won’t solve it.
We work on Garage Door Opener Repair in Anaheim for LiftMaster, Chamberlain, Genie, Craftsman, and other major brands, and there is no single brand that never fails. LiftMaster and Chamberlain products are broadly reliable but have weak points in older drive gears. Genie openers have had known logic-board issues on certain model years. The most reliable opener is the one that’s properly maintained, correctly sized for your door, and professionally installed. When you’re choosing a replacement, we’ll recommend what fits your door and your budget, not what carries the biggest margin.
The Bottom Line
Garage door troubleshooting is less about memorizing a list of symptoms and more about understanding how the system works as a whole. When you group symptoms, run the safe tests, and read the error codes, most failures point clearly to one root cause. The diagnostic path is: disconnect the opener and test the door manually, check the spring for visible damage, listen to the opener, and verify the safety systems. Each test narrows the field. By the time you’ve worked through them, you know whether you’re dealing with a quick adjustment, a component replacement, or a call for professional help. And when it’s time for that call, Ranger Garage Door Service is here in Anaheim, ready with the parts and knowledge for whatever brand you own. Call (877) 752-4135 for a free estimate.
Written by the team at Ranger Garage Door Service, serving Anaheim since 2018.
See the difference
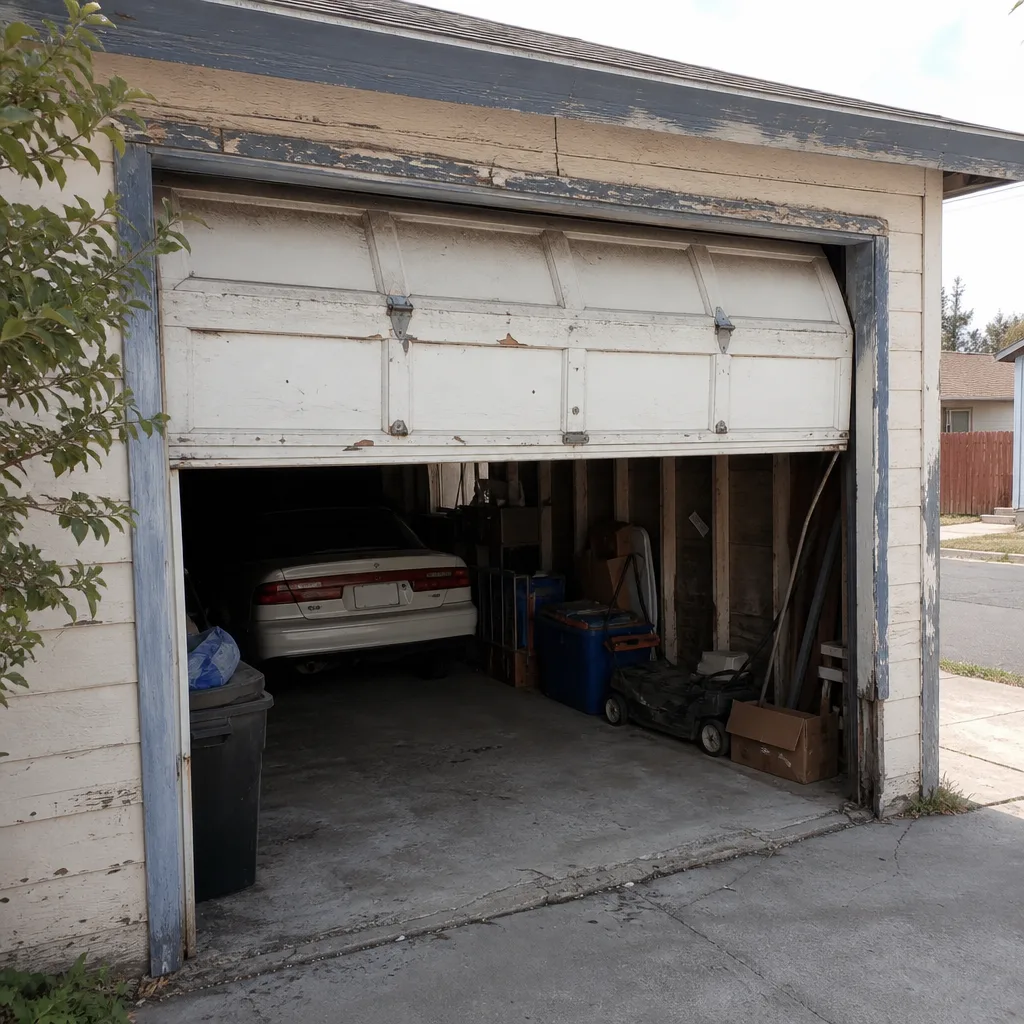 Before
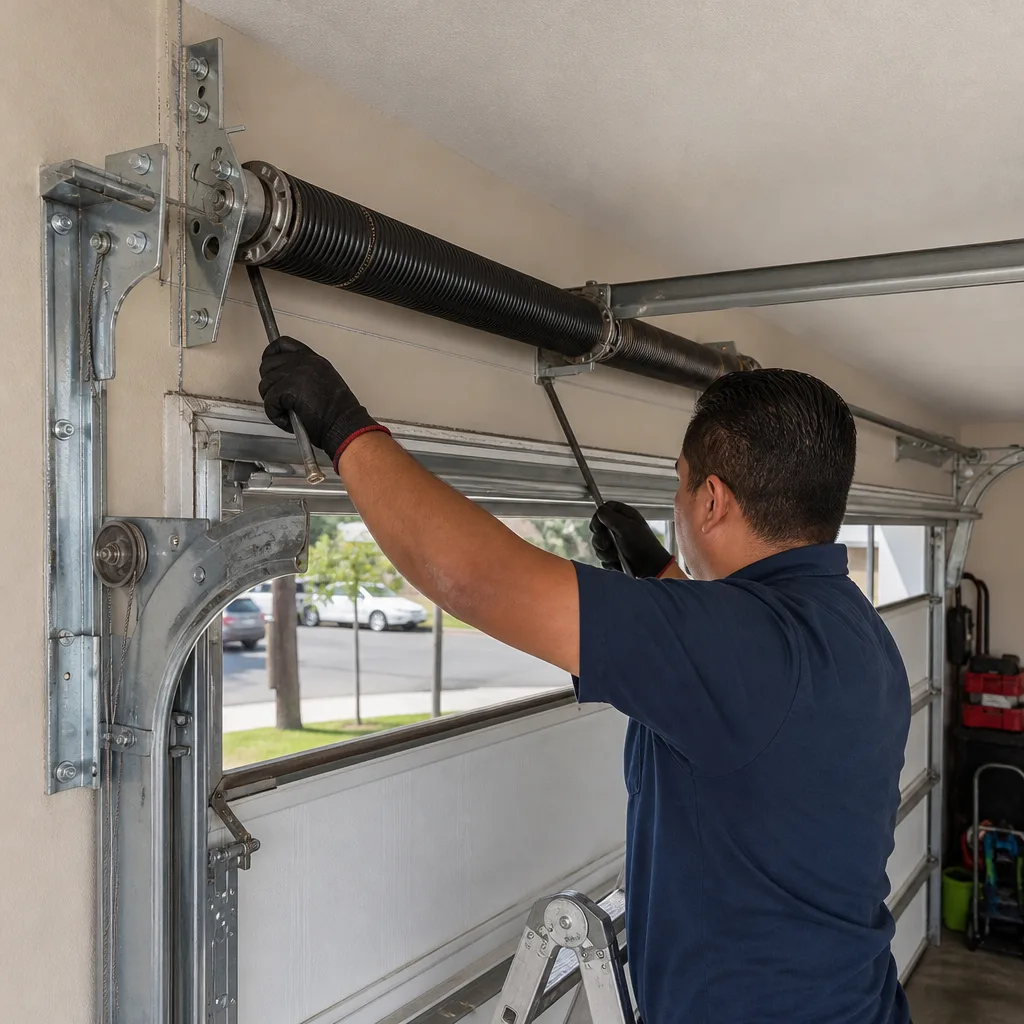 After
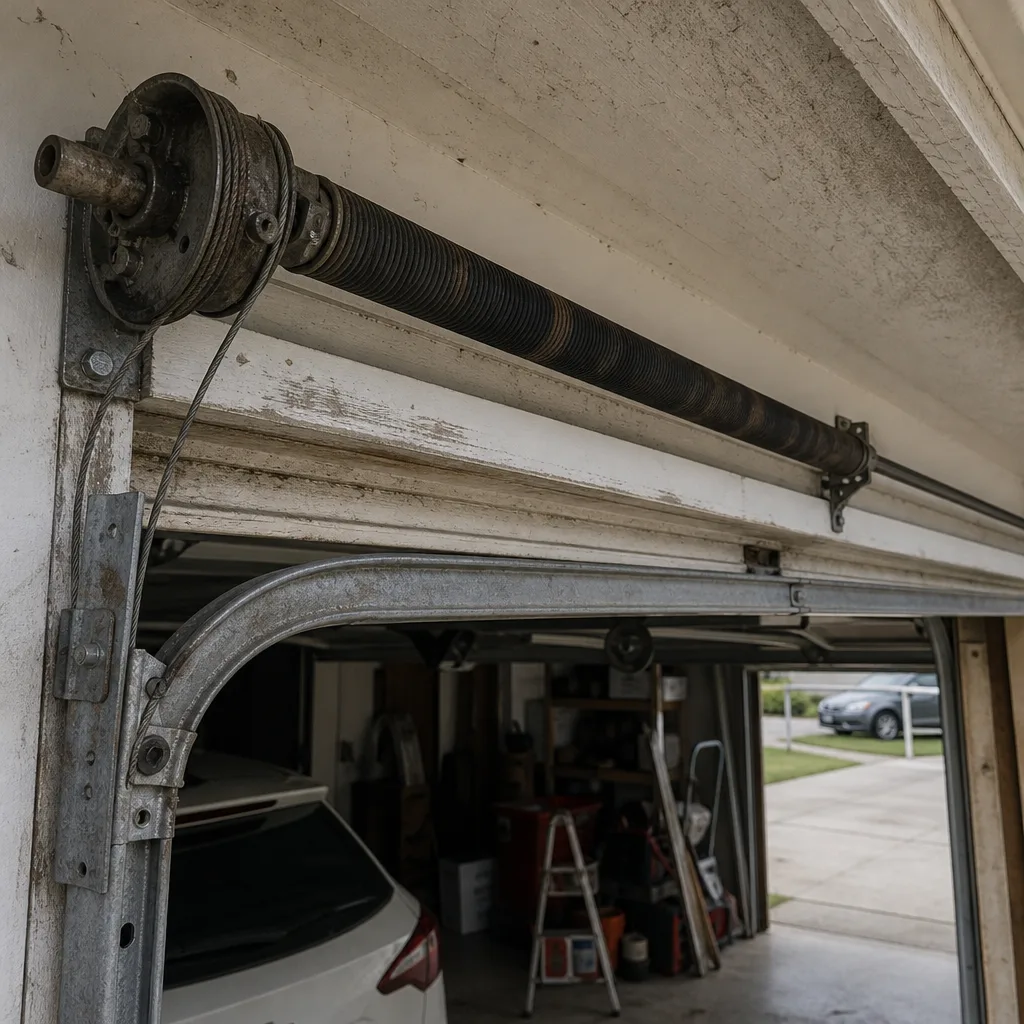 Before
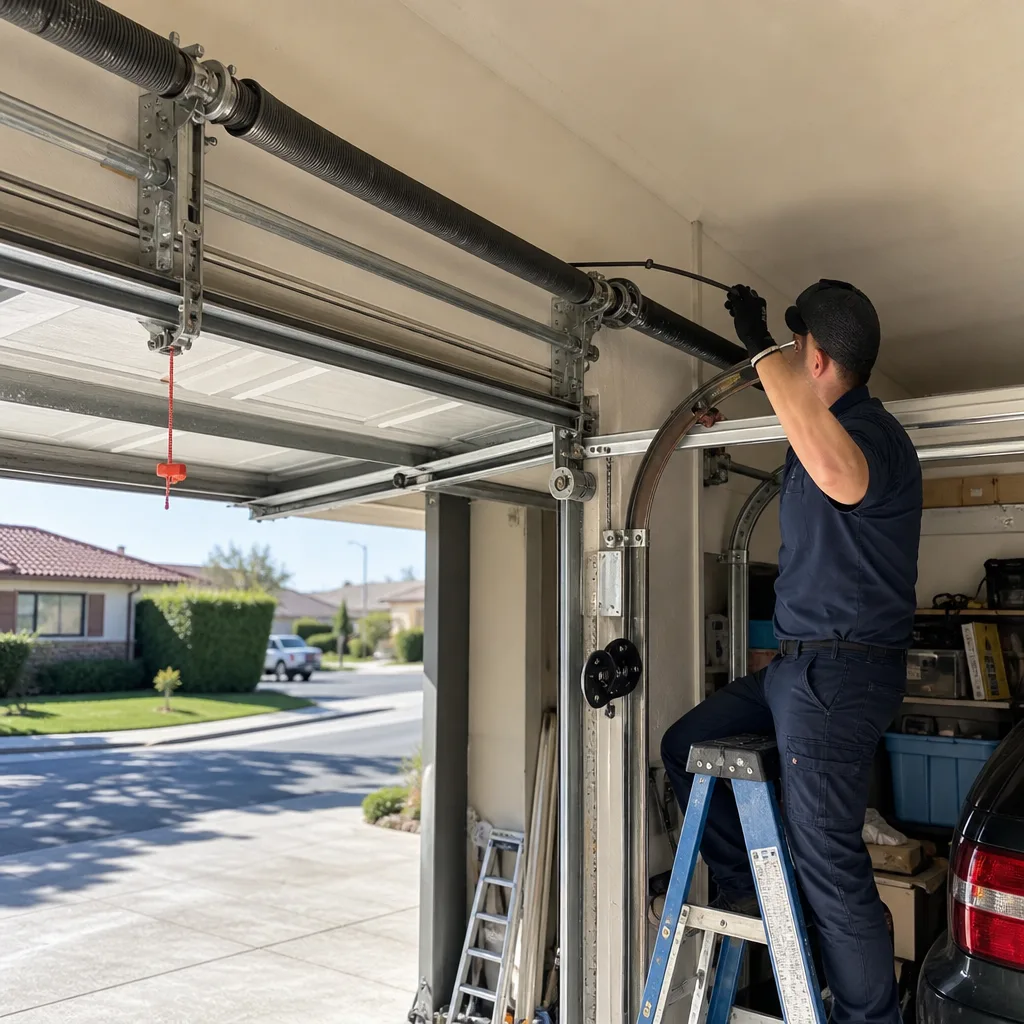 After
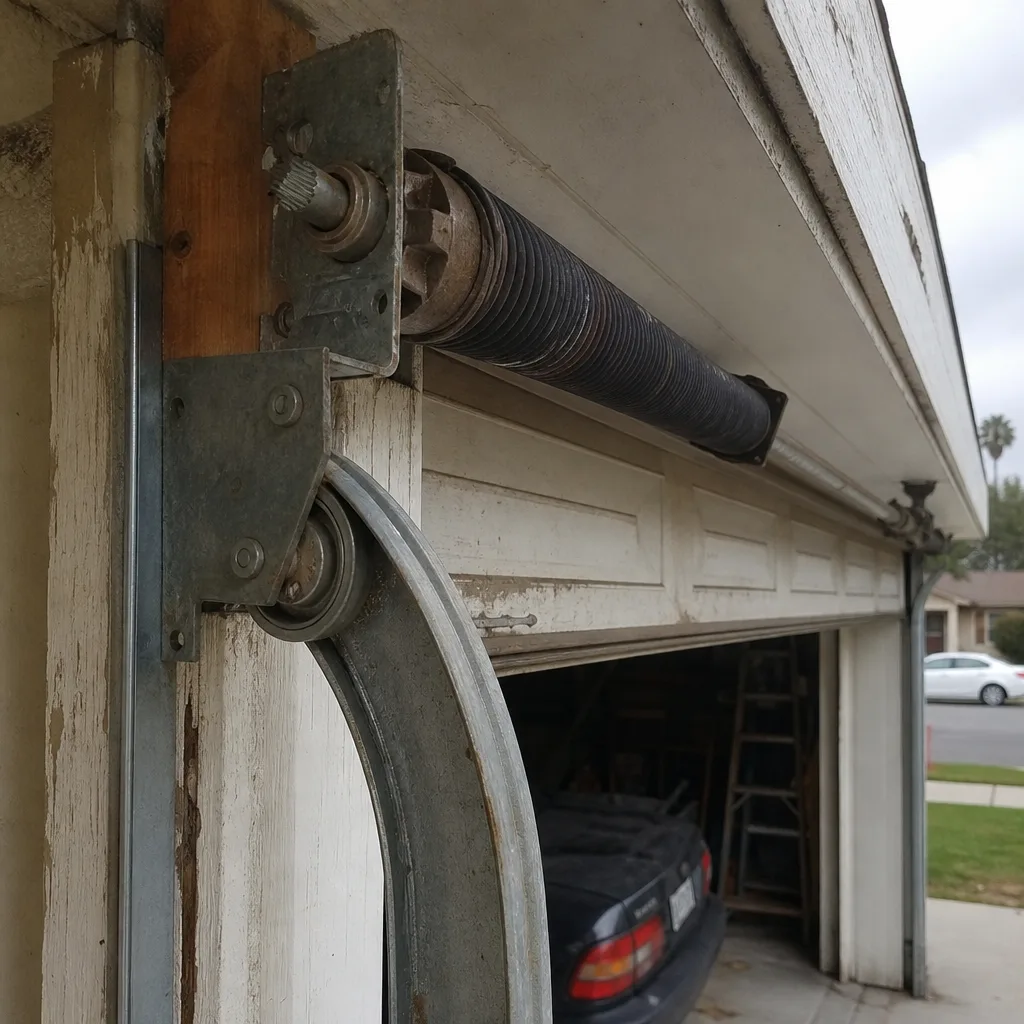 Before
 After